General Steps to Set Up a Self-Watering Planter
Setting up a self-watering planter is generally quite easy! Here’s a step-by-step guide that covers the typical process. Keep in mind that specific instructions might vary slightly depending on the exact type of self-watering planter you have, so always refer to the manufacturer’s instructions if available.
General Steps to Set Up a Self-Watering Planter:
Gather Your Materials:
- Self-Watering Planter: Make sure you have all the components, which usually include the outer pot, an inner pot or growing tray (sometimes with legs or a platform), a water reservoir (often integrated into the base), and sometimes wicks or a watering mat.
- Potting Mix: Choose a well-draining potting mix suitable for your plants (see previous response about soil types for self-watering planters).
- Plants: Select plants that are appropriate for the size of the planter and your growing conditions.
- Water: You’ll need water to fill the reservoir.
- Optional:
- Slow-release fertilizer (if desired, to mix into the potting soil)
- Pebbles or gravel (for the very bottom of some types of planters, if recommended by manufacturer)
- Gloves
- Small watering can or pitcher for filling the reservoir.
Prepare the Planter (if needed):
- Clean the Planter: If it’s a used planter, clean it out to remove any old soil or debris.
- Assemble Components: Some self-watering planters come in multiple pieces and need assembly. Follow the manufacturer’s instructions to put together the inner pot/tray, reservoir components, and any wicking systems. Often, the inner pot sits inside the outer pot, creating a space for the water reservoir below.
Add Potting Mix to the Inner Pot/Growing Tray:
- No Gravel Layer Needed (Usually): Unlike traditional pots, you generally don’t need a layer of gravel or drainage material at the bottom of the inner pot in most self-watering systems. The planter’s design itself provides drainage and separation from the water reservoir. However, some specific planter instructions mightrecommend a very thin layer of pebbles at the very bottom – if so, follow those specific instructions. Usually, it’s just potting mix.
- Fill with Potting Mix: Fill the inner pot or growing tray with your chosen well-draining potting mix. Leave some space at the top (about an inch or two) for watering from the top initially and to prevent soil from overflowing when you water.
- Pre-moisten the Soil (Optional but Recommended): Slightly pre-moisten the potting mix before planting. This helps to get the wicking action started and ensures the initial planting environment is suitably moist. Don’t make it soggy, just lightly damp.
Plant Your Plants:
- Plant as Usual: Plant your seedlings, starter plants, or seeds into the potting mix in the inner pot, just as you would in a regular pot. Ensure the root ball is at the correct depth for the plant type.
- Space Plants Appropriately: Give your plants enough space to grow according to their mature size. Don’t overcrowd the planter.
Water from the Top Initially (Important First Step):
- Thorough Top Watering: After planting, water your plants thoroughly from the top, directly onto the soil surface, until water starts to drain into the reservoir below. This initial top watering is crucial to settle the soil, ensure the potting mix is evenly moist throughout from the start, and to establish contact between the soil and the wicking system (if there are wicks).
- Observe Water Level (if visible): If your planter has a water level indicator, you might see the level rise as you top-water.
Fill the Water Reservoir:
- Locate Fill Point: Find the fill tube or opening for the water reservoir. This is often a separate opening on the side of the planter or a tube extending upwards.
- Fill Reservoir to Recommended Level: Fill the reservoir with water through the fill point. Do not overfill.Many self-watering planters have a maximum fill line or an overflow mechanism. If there’s an overflow hole, stop filling when water starts to come out of it. If there’s a water level indicator, fill to the “full” mark. If there’s no indicator or overflow, fill cautiously, leaving some air space at the top of the reservoir.
- Use a Watering Can or Pitcher: A watering can with a spout or a pitcher makes it easier to fill the reservoir without spilling water onto the soil surface.
Monitor Water Level and Refill as Needed:
- Check Water Level Regularly: Monitor the water level in the reservoir, especially in the first few weeks and during hot weather. Water level indicators, if present, are helpful.
- Refill When Reservoir is Low: Refill the reservoir when the water level gets low, before it completely empties. How often you need to refill will depend on the plant type, size, weather conditions, and the planter’s design.
- Let Reservoir Dry Out Periodically (for some plants): For plants that prefer slightly drier conditions between waterings, allow the reservoir to empty completely and the soil surface to dry out a bit before refilling. This provides some aeration and prevents constant saturation.
Fertilize (if needed):
- Fertilize Sparingly: Self-watering planters can sometimes lead to fertilizer salt buildup over time. Fertilize less frequently than you might with traditional pots.
- Liquid Fertilizer in Reservoir (or top watering): You can add diluted liquid fertilizer to the water in the reservoir or apply diluted liquid fertilizer when you occasionally water from the top. Follow fertilizer label instructions for dilution and frequency. Slow-release fertilizer can also be mixed into the potting mix at planting.

Variations Depending on Planter Type:
- Wick-Based Systems: Some self-watering planters use wicks (cotton ropes, felt strips) that extend from the reservoir up into the soil. Ensure the wicks are properly placed and make good contact with the soil during setup.
- Capillary Mat Systems: Some use a capillary mat separating the soil from the reservoir. Make sure the mat is correctly positioned.
- Planters without Wicks (Soil as Wick): In some designs, the potting mix itself acts as the wicking medium, drawing water directly from the reservoir through capillary action. Using the correct type of potting mix is even more critical in these systems.
- Overflow Drains: Note if your planter has an overflow drain and its location. This is important for knowing when to stop filling the reservoir and for preventing overwatering.
Tips for Success:
- Choose the Right Plants: Select plants that are well-suited for container growing and that appreciate consistent moisture (or at least tolerate it).
- Use the Right Potting Mix: Well-draining and moisture-retentive potting mix is key.
- Don’t Overwater Initially: Even though it’s self-watering, avoid making the soil soggy at the beginning. The initial top watering should just be to moisten the soil evenly.
- Monitor and Adjust: Observe your plants and adjust your watering habits (reservoir refill frequency) based on their needs and the environmental conditions.
- Clean Periodically: Clean out the planter and reservoir occasionally to prevent algae growth and mineral buildup, especially if you are using hard water or fertilizers.
By following these steps and understanding the principles of self-watering planters, you can successfully set up and use them to simplify your plant care and enjoy healthy, thriving plants!
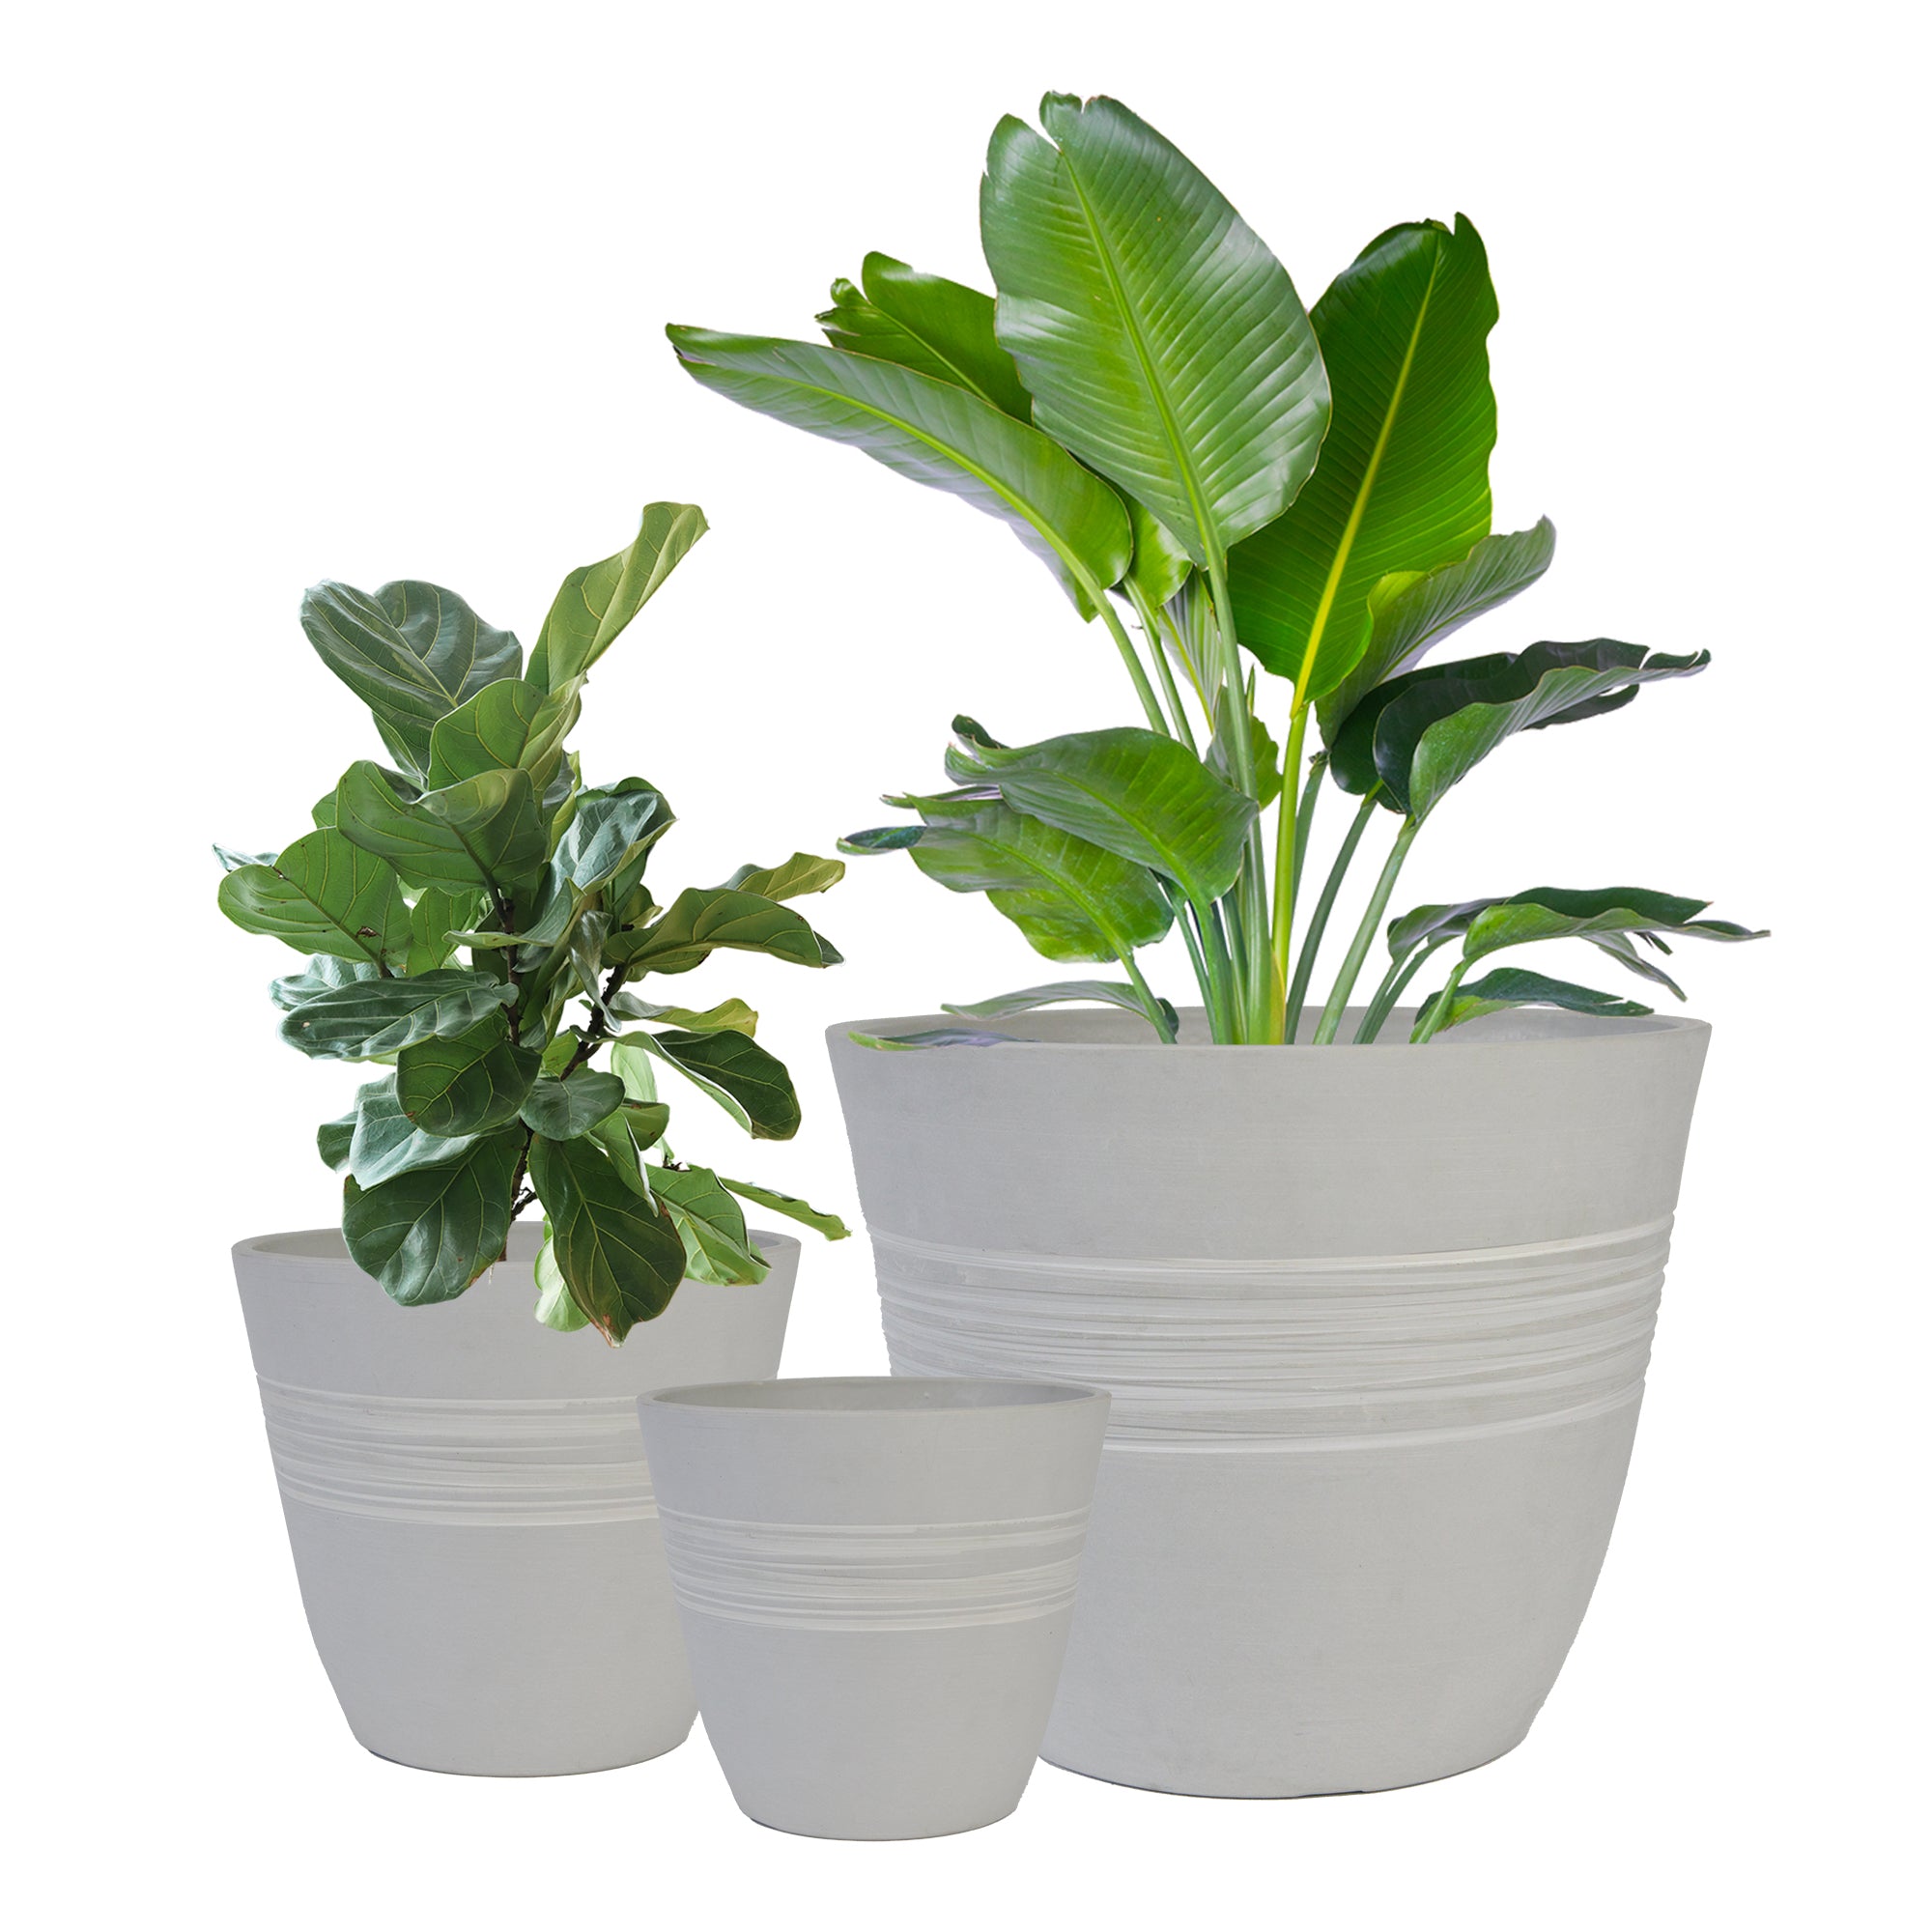
Plant Pots 6 inch 8 inch 12 inch for Indoor Outdoor Plants, Set of 3 Modern Decorative Planter with Drainage Hole, Decorative Flower Pots
By greenship-seo|2025-04-10T06:38:40+00:00January 16, 2025|Categories: Hand-carving Series|Tags: Decorative Flower Pots|
Planter 5 in W / 8 in W / 12 in W or Indoor Outdoor Plants, Modern Decorative Plant Pots with Drainage Hole, Decorative Flower Pots
By greenship-seo|2025-04-10T06:37:58+00:00January 16, 2025|Categories: Hand-carving Series|Tags: Decorative Flower Pots|
11V
By greenship|2024-08-13T03:05:48+00:00August 13, 2024|Categories: Hand-carving Series|
Plant Pots 6 inch 8 inch 10 inch for Indoor Plants, Set of 3 Modern Decorative Planter ts with Drainage Hole, Decorative Flower Pots
By greenship-seo|2025-04-10T06:39:28+00:00January 14, 2025|Categories: Hand-carving Series|Tags: Decorative Flower Pots|
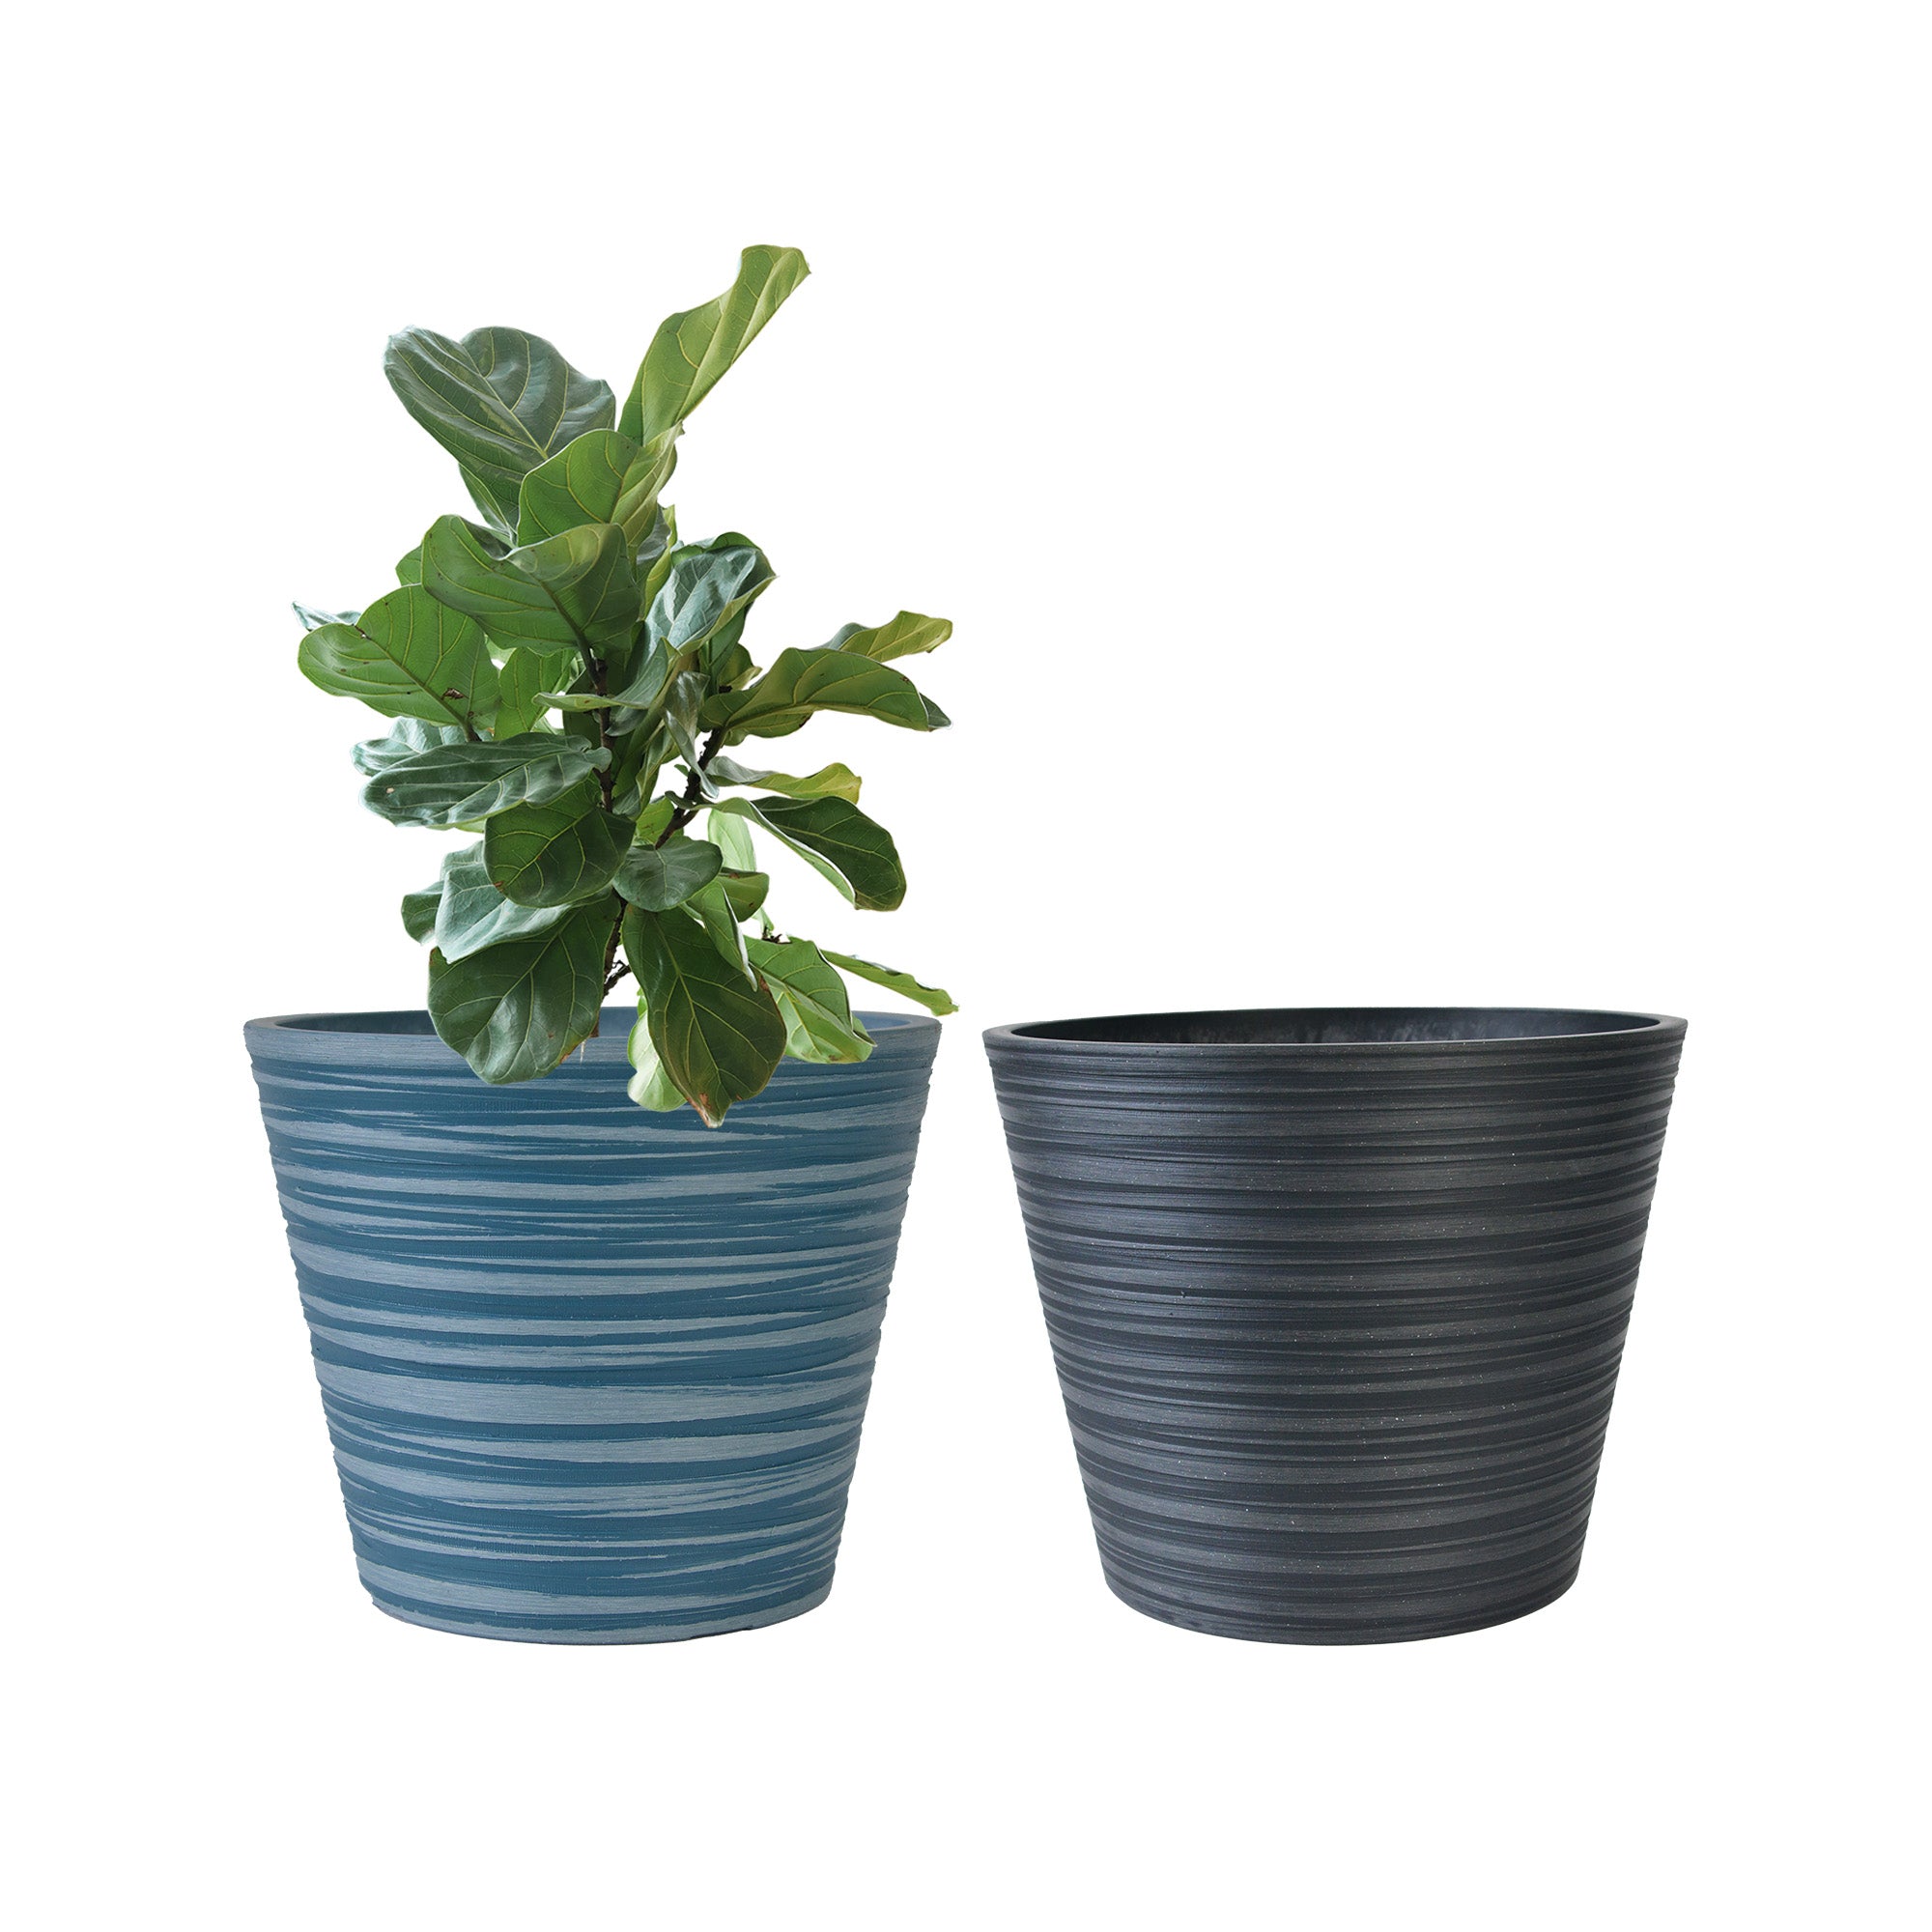
Planter for Indoor Outdoor Plants, Set of 2 Modern Decorative Plant Pots with Drainage Hole, Decorative Flower Pots
By greenship-seo|2025-01-14T12:26:44+00:00January 14, 2025|Categories: Hand-carving Series|Tags: Decorative Flower Pots|
8 inch/10 inch Planter Indoor Plants, 2 Pack Modern Decorative Plant Pots with Drainage Hole, Cute Bowl Shape Flower Pots
By greenship-seo|2025-04-10T08:03:42+00:00January 9, 2025|Categories: Hand-carving Series|Tags: Decorative Flower Pots, Self-Watering Pots|

