Unlock Orchid Blooms in 15 Days: Simple Steps to Guarantee Flower Spikes and Root Growth – See Results Fast!
Are you patiently waiting for your orchid to bloom, only to be met with leafy greens and no flower spikes? Frustrated with lackluster root growth and yearning for a cascade of vibrant blossoms? The good news is, you don’t have to wait months or even years! With a few strategic adjustments to your orchid care routine, you can trigger blooming and stimulate robust root growth in as little as 15 days! Yes, you can witness visible results and be well on your way to enjoying a stunning floral display sooner than you think.
This article will reveal the simple yet powerful secrets to fast-tracking your orchid’s journey to blooming and healthy root development. We’ll break down a 15-day action plan packed with easy-to-implement steps focused on light, watering, feeding, and a touch of orchid wisdom. Get ready to be amazed as you witness your orchids transform and reward you with beautiful blooms and vigorous growth in just a fortnight!
The 15-Day Orchid Bloom & Root Boost: Your Action Plan for Fast Results
This 15-day plan is designed to create the ideal environment for your orchid to initiate flower spikes and boost root development. It’s a combination of strategic care adjustments that work synergistically to encourage rapid results:
Days 1-5: Light Optimization & Initial Hydration
Maximize Indirect Light: Orchids crave bright, indirect light to fuel photosynthesis and blooming.
- Assess Current Light: Observe your orchid’s current location. Is it in deep shade, medium light, or bright indirect light?
- Ideal Location: Move your orchid to a location that receives bright, indirect light for at least 6-8 hours per day. East-facing windows are often ideal, providing gentle morning sun. South or west-facing windows can work, but ensure the orchid is shielded from harsh midday and afternoon sun with a sheer curtain or blinds to prevent leaf burn.
- Signs of Good Light: Leaves should be a healthy medium green. Dark green leaves indicate insufficient light; reddish or yellowing leaves suggest too much direct sun.
Initial Watering – The “Wake-Up” Hydration: Proper hydration is crucial to kickstart growth.
- Assess Potting Mix: Check the moisture level of your orchid’s potting mix. Is it bone dry, slightly damp, or soggy?
- Thorough Watering: If the potting mix is dry or mostly dry, water your orchid thoroughly. The best method is to soak the pot in room temperature water for 10-15 minutes, allowing the potting mix to fully saturate. Alternatively, you can water generously from the top, allowing water to drain freely from the bottom of the pot.
- Drainage is Key: Ensure the pot has drainage holes and allow all excess water to drain completely. Orchids hate sitting in standing water, which can lead to root rot.
Days 6-10: Nutrient Boost & Humidity Enhancement
Gentle Fertilizing – The Bloom Booster: Provide your orchid with the nutrients it needs to produce flower spikes.
- Choose Orchid Fertilizer: Use a balanced orchid fertilizer (e.g., 20-20-20 or similar ratio) diluted to half or quarter strength of the recommended dosage on the label. Orchid fertilizers are formulated to be gentle and avoid fertilizer burn.
- Fertilize After Watering: Always fertilize after watering your orchid, when the potting mix is already moist. Never fertilize a dry orchid, as this can damage the roots.
- Frequency: Fertilize once during this 5-day period (around day 7 or 8) as part of your regular watering routine.
Increase Humidity – The Growth Environment: Orchids thrive in humid environments.
- Humidity Tray: The easiest way to increase humidity is to place your orchid pot on a humidity tray. This is a shallow tray filled with pebbles and water. As the water evaporates, it increases the humidity around the plant. Ensure the pot sits above the water line on the pebbles, not in the water, to prevent root rot.
- Grouping Plants: Grouping orchids together can create a micro-climate with slightly higher humidity.
- Misting (Caution): Misting orchids can temporarily increase humidity, but be cautious. Avoid misting the leaves late in the day, as water sitting on leaves overnight can encourage fungal diseases. Misting is less effective than a humidity tray for sustained humidity.
Days 11-15: Temperature Fluctuation & Continued Observation
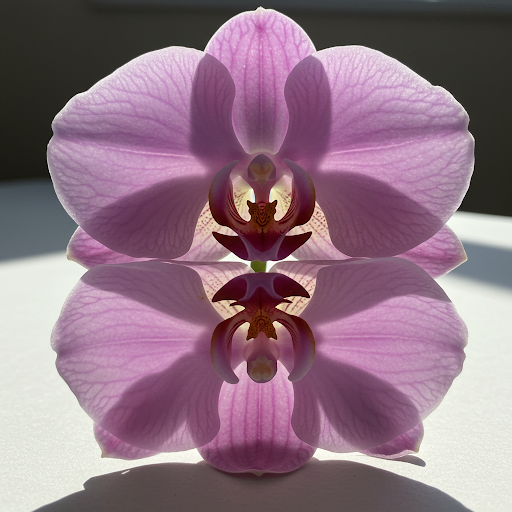
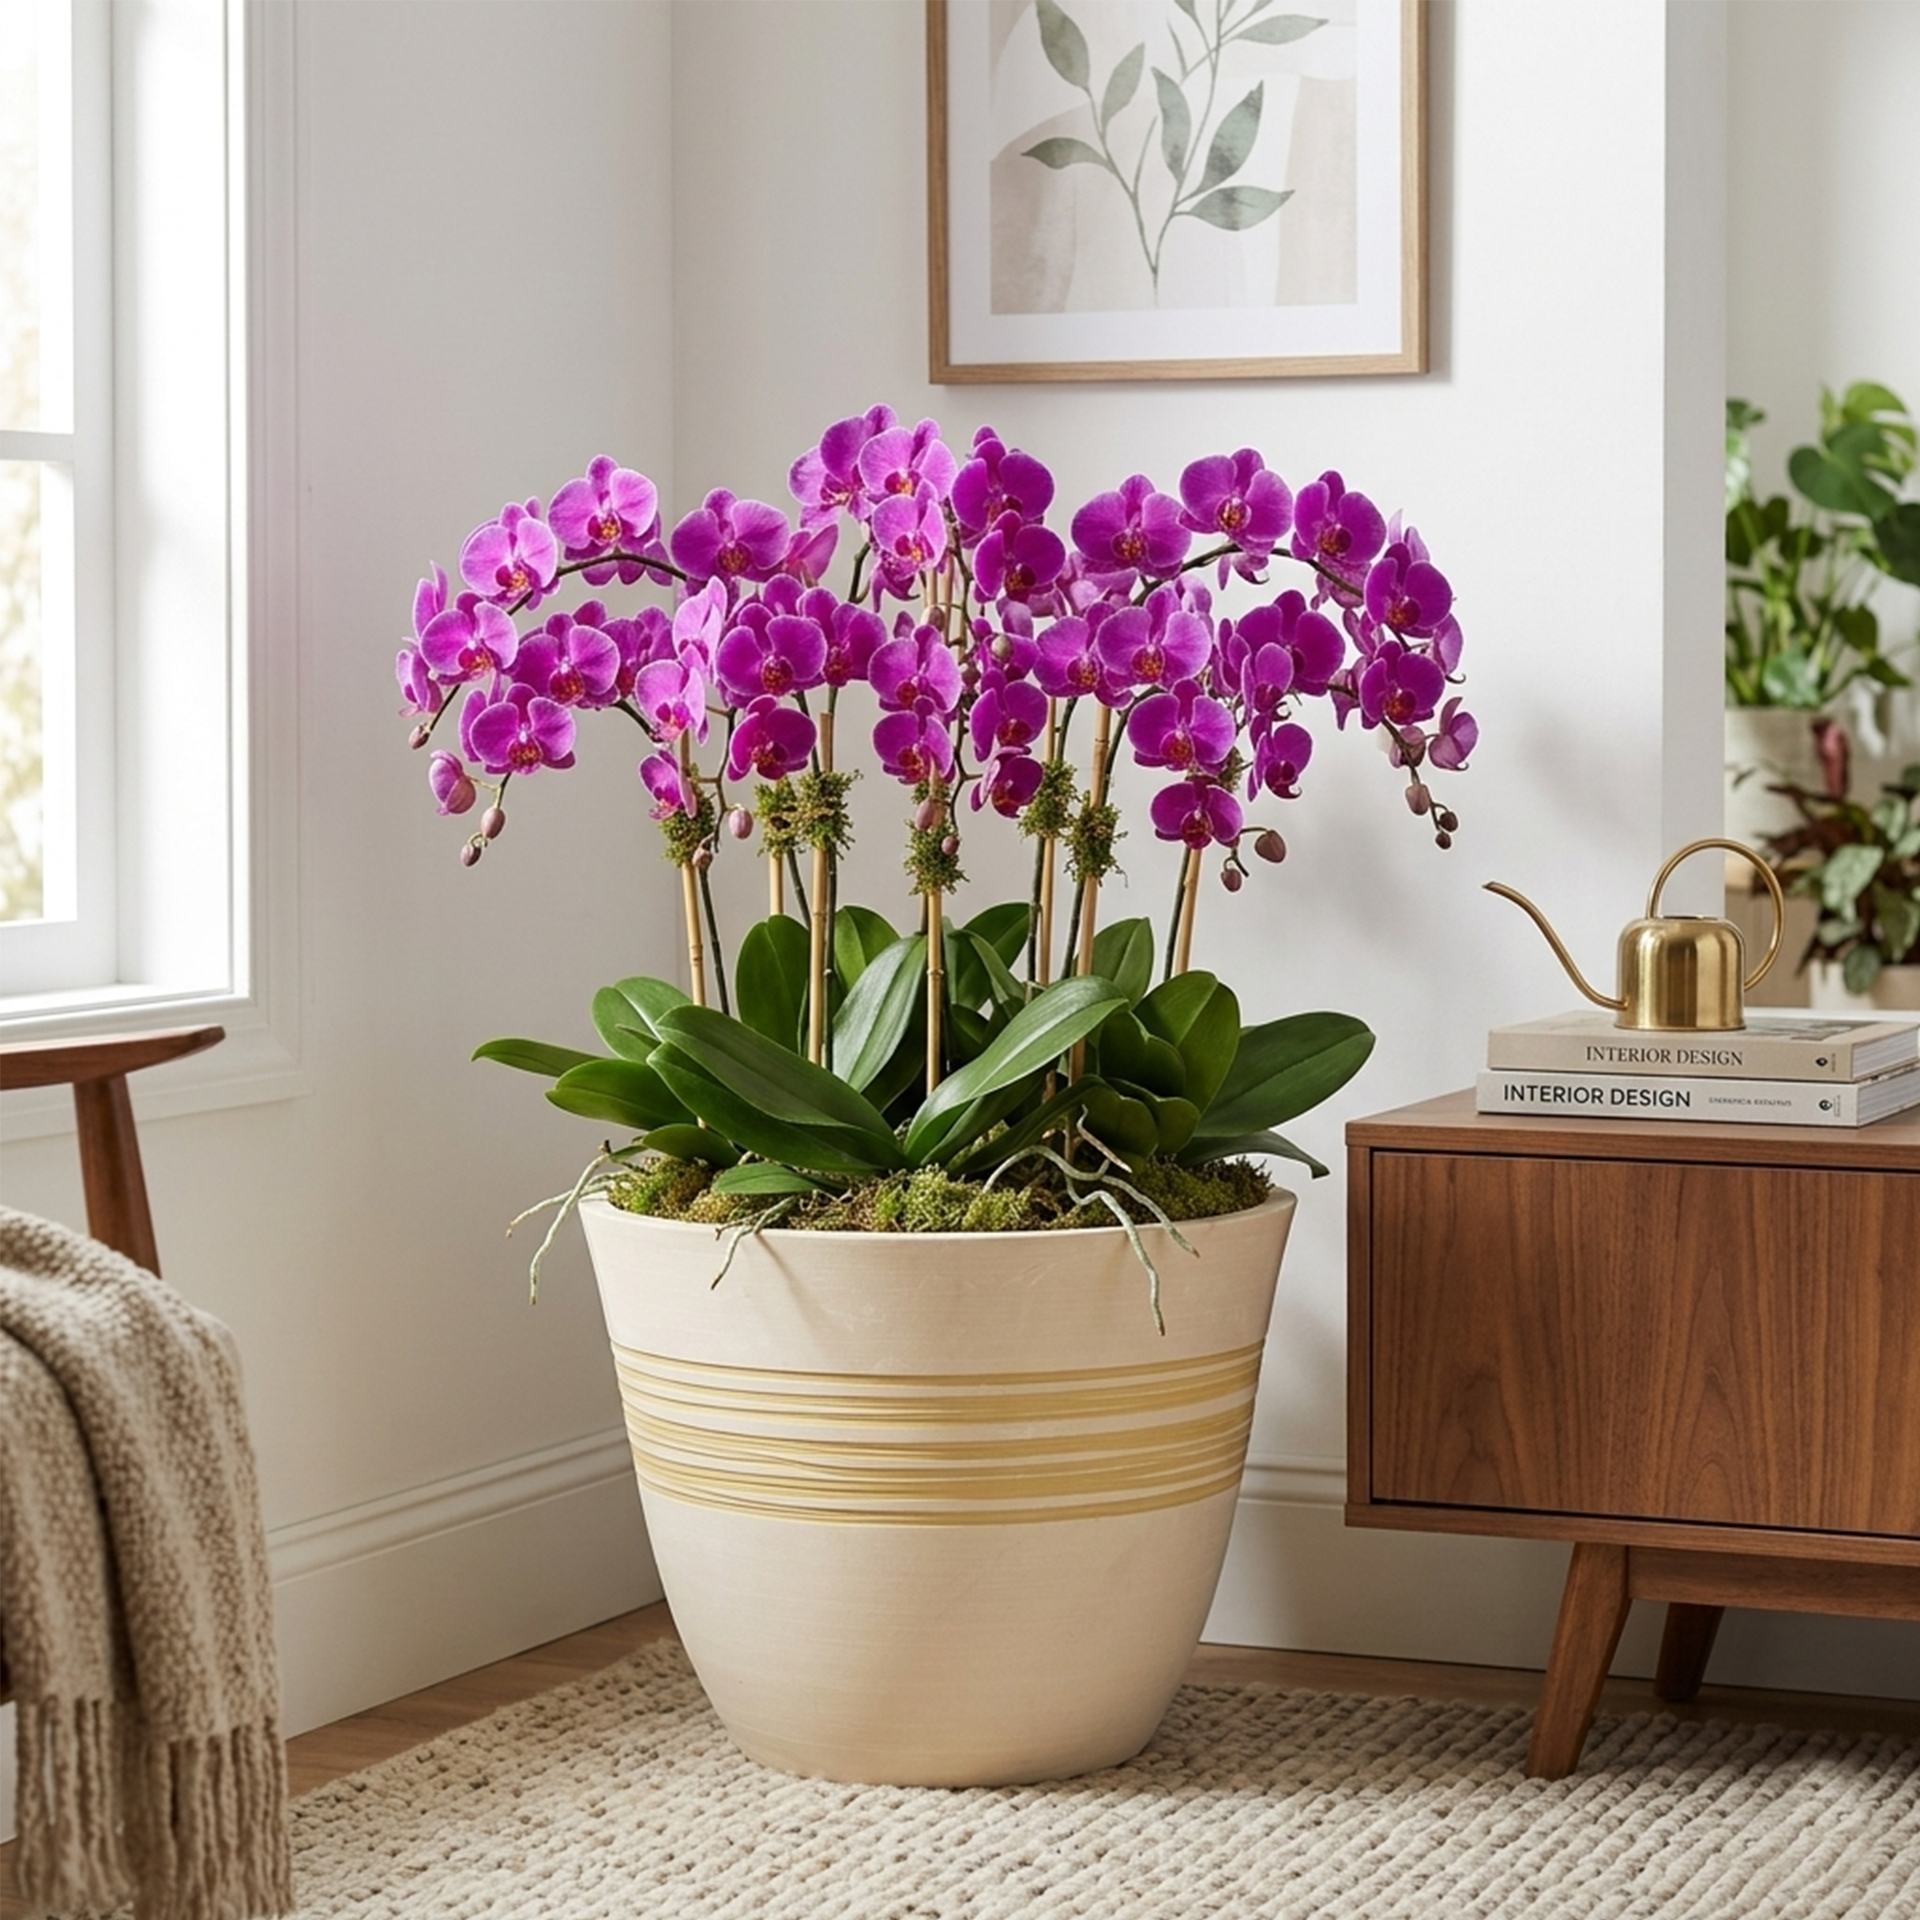
Temperature Drop – Trigger Blooming (Diurnal Temperature Shift): Many orchids, especially Phalaenopsis, are triggered to bloom by a slight drop in nighttime temperatures.
- Nighttime Temperature Dip: Aim for a nighttime temperature drop of about 10-15°F (5-8°C) below daytime temperatures. This can often be achieved naturally by slightly opening a window at night (if temperatures are not excessively cold) or moving the orchid to a slightly cooler room for the night. Avoid drafts of very cold air directly on the orchid.
- Maintain Daytime Temperature: During the day, maintain a comfortable daytime temperature for your orchid type, generally between 70-80°F (21-27°C) for Phalaenopsis.
Observe Closely – Signs of Progress: During these final days, observe your orchid carefully for signs of flower spike or root growth.
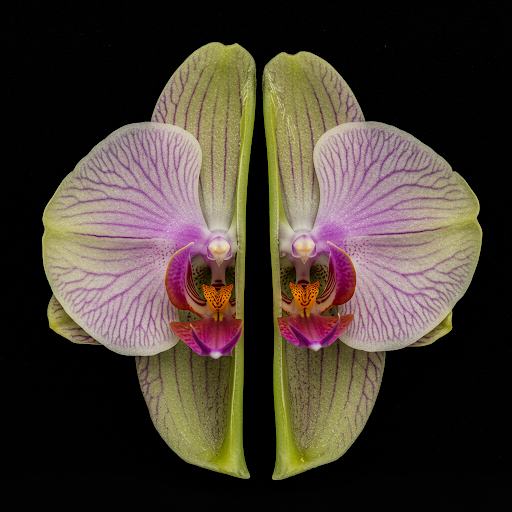
- Flower Spikes: Look for small, green “mittens” or “nubs” emerging from the base of the leaves, near the crown of the plant. These are the beginnings of flower spikes. They will grow upwards and elongate over the coming weeks.
- Root Growth: Check for new root tips emerging from the base of the plant or through drainage holes.Healthy root tips are typically plump, green or silvery, and actively growing.
- Leaf Changes (Subtle): Leaves might become slightly firmer and more upright as the plant directs energy towards blooming and root growth.
Beyond 15 Days: Sustaining Blooms and Continued Care
The 15-day plan is a jumpstart, not a one-time fix. To enjoy long-lasting blooms and continued healthy growth, maintain these good orchid care practices:
- Consistent Watering: Water your orchid when the potting mix is just starting to dry out. The frequency will vary depending on your environment, orchid type, and potting mix. Check the moisture level regularly by feeling the potting mix or using a moisture meter.
- Regular Fertilizing (Less Frequent): After the initial boost, reduce fertilizing frequency to once every 2-4 weeks during the growing season (spring and summer) and less frequently or not at all during the dormant season (fall and winter). Continue using diluted orchid fertilizer.
- Maintain Proper Light: Keep your orchid in bright, indirect light year-round. Adjust position seasonally if needed to maintain optimal light levels without direct sun scorch.
- Humidity Management: Continue providing adequate humidity, especially during dry indoor heating seasons.
- Repotting Schedule: Repot your orchid every 1-2 years, or when the potting mix decomposes, roots become overcrowded, or the plant outgrows its pot. Repotting with fresh orchid mix provides essential aeration and nutrients to the roots.
- Patience and Observation: Orchids bloom on their own schedule. Be patient, continue providing good care, and observe your orchid regularly to learn its specific needs and patterns.
Expert Tips for Orchid Blooming Success:
- Orchid Type Matters: Different orchid types have slightly different light, temperature, and watering needs. Research the specific needs of your orchid variety (e.g., Phalaenopsis, Cattleya, Cymbidium, Dendrobium) for truly tailored care.
- Mimic Natural Habitat: Think about the orchid’s natural environment. Many orchids are epiphytes, growing on trees in humid, shady rainforests. Try to mimic these conditions in your home.
- Don’t Overlove: Overwatering is the most common orchid-care mistake. Less is often more when it comes to watering and fertilizing. Allow the potting mix to dry slightly between waterings.
- Root Health is Key: Healthy roots are essential for orchid health and blooming. Use a well-draining potting mix, avoid overwatering, and provide good air circulation around the roots.
- Temperature Fluctuations are Natural Triggers: Many orchids, especially those from temperate climates, benefit from natural seasonal temperature changes to trigger blooming cycles. Don’t be afraid to let nighttime temperatures dip slightly.
- Observe Leaf Color and Texture: Your orchid’s leaves are a great indicator of its health and needs. Pay attention to leaf color, firmness, and any changes, as these can signal issues with light, water, or nutrients.
Troubleshooting: What if I Don’t See Results in 15 Days?
While many orchid enthusiasts see results within 15 days using this plan, orchids are living things, and results can vary. Don’t be discouraged if you don’t see dramatic flower spikes or root growth exactly within 15 days. Consider these factors:
- Orchid Type: Some orchid types are naturally slower growers or bloomers than others. Patience is especially important with certain genera.
- Orchid Maturity: Young, immature orchids may need more time to reach blooming maturity, even with optimized care.
- Overall Orchid Health: If your orchid was previously stressed, unhealthy, or root-bound, it may take longer to recover and respond to the bloom-boosting plan.
- Environmental Factors: Even with your best efforts, environmental factors like unusually cloudy weather or extreme temperature swings can temporarily affect orchid growth.
- Continue Consistent Care: Even if you don’t see immediate results, continue to follow the optimized care routine. Consistent good care will eventually encourage blooming and healthy growth. Patience is key in orchid growing.
- Check Root Health: If you are concerned about lack of progress, gently unpot your orchid and inspect the roots. Healthy roots are firm and plump; mushy, brown roots indicate root rot, which needs to be addressed.
Conclusion: Fast Track Your Way to Orchid Blooms!
You now have the knowledge and the 15-day action plan to unlock the blooming potential of your orchids and encourage healthy root growth, faster than you ever thought possible! By optimizing light, watering, feeding, and understanding the nuances of orchid care, you can create the ideal conditions for your orchids to flourish. Get started today, follow the plan, and prepare to be amazed as you witness your orchids transform and reward you with a stunning display of blooms in just 15 days! Happy orchid growing!
About the Author — Greenship Garden Team
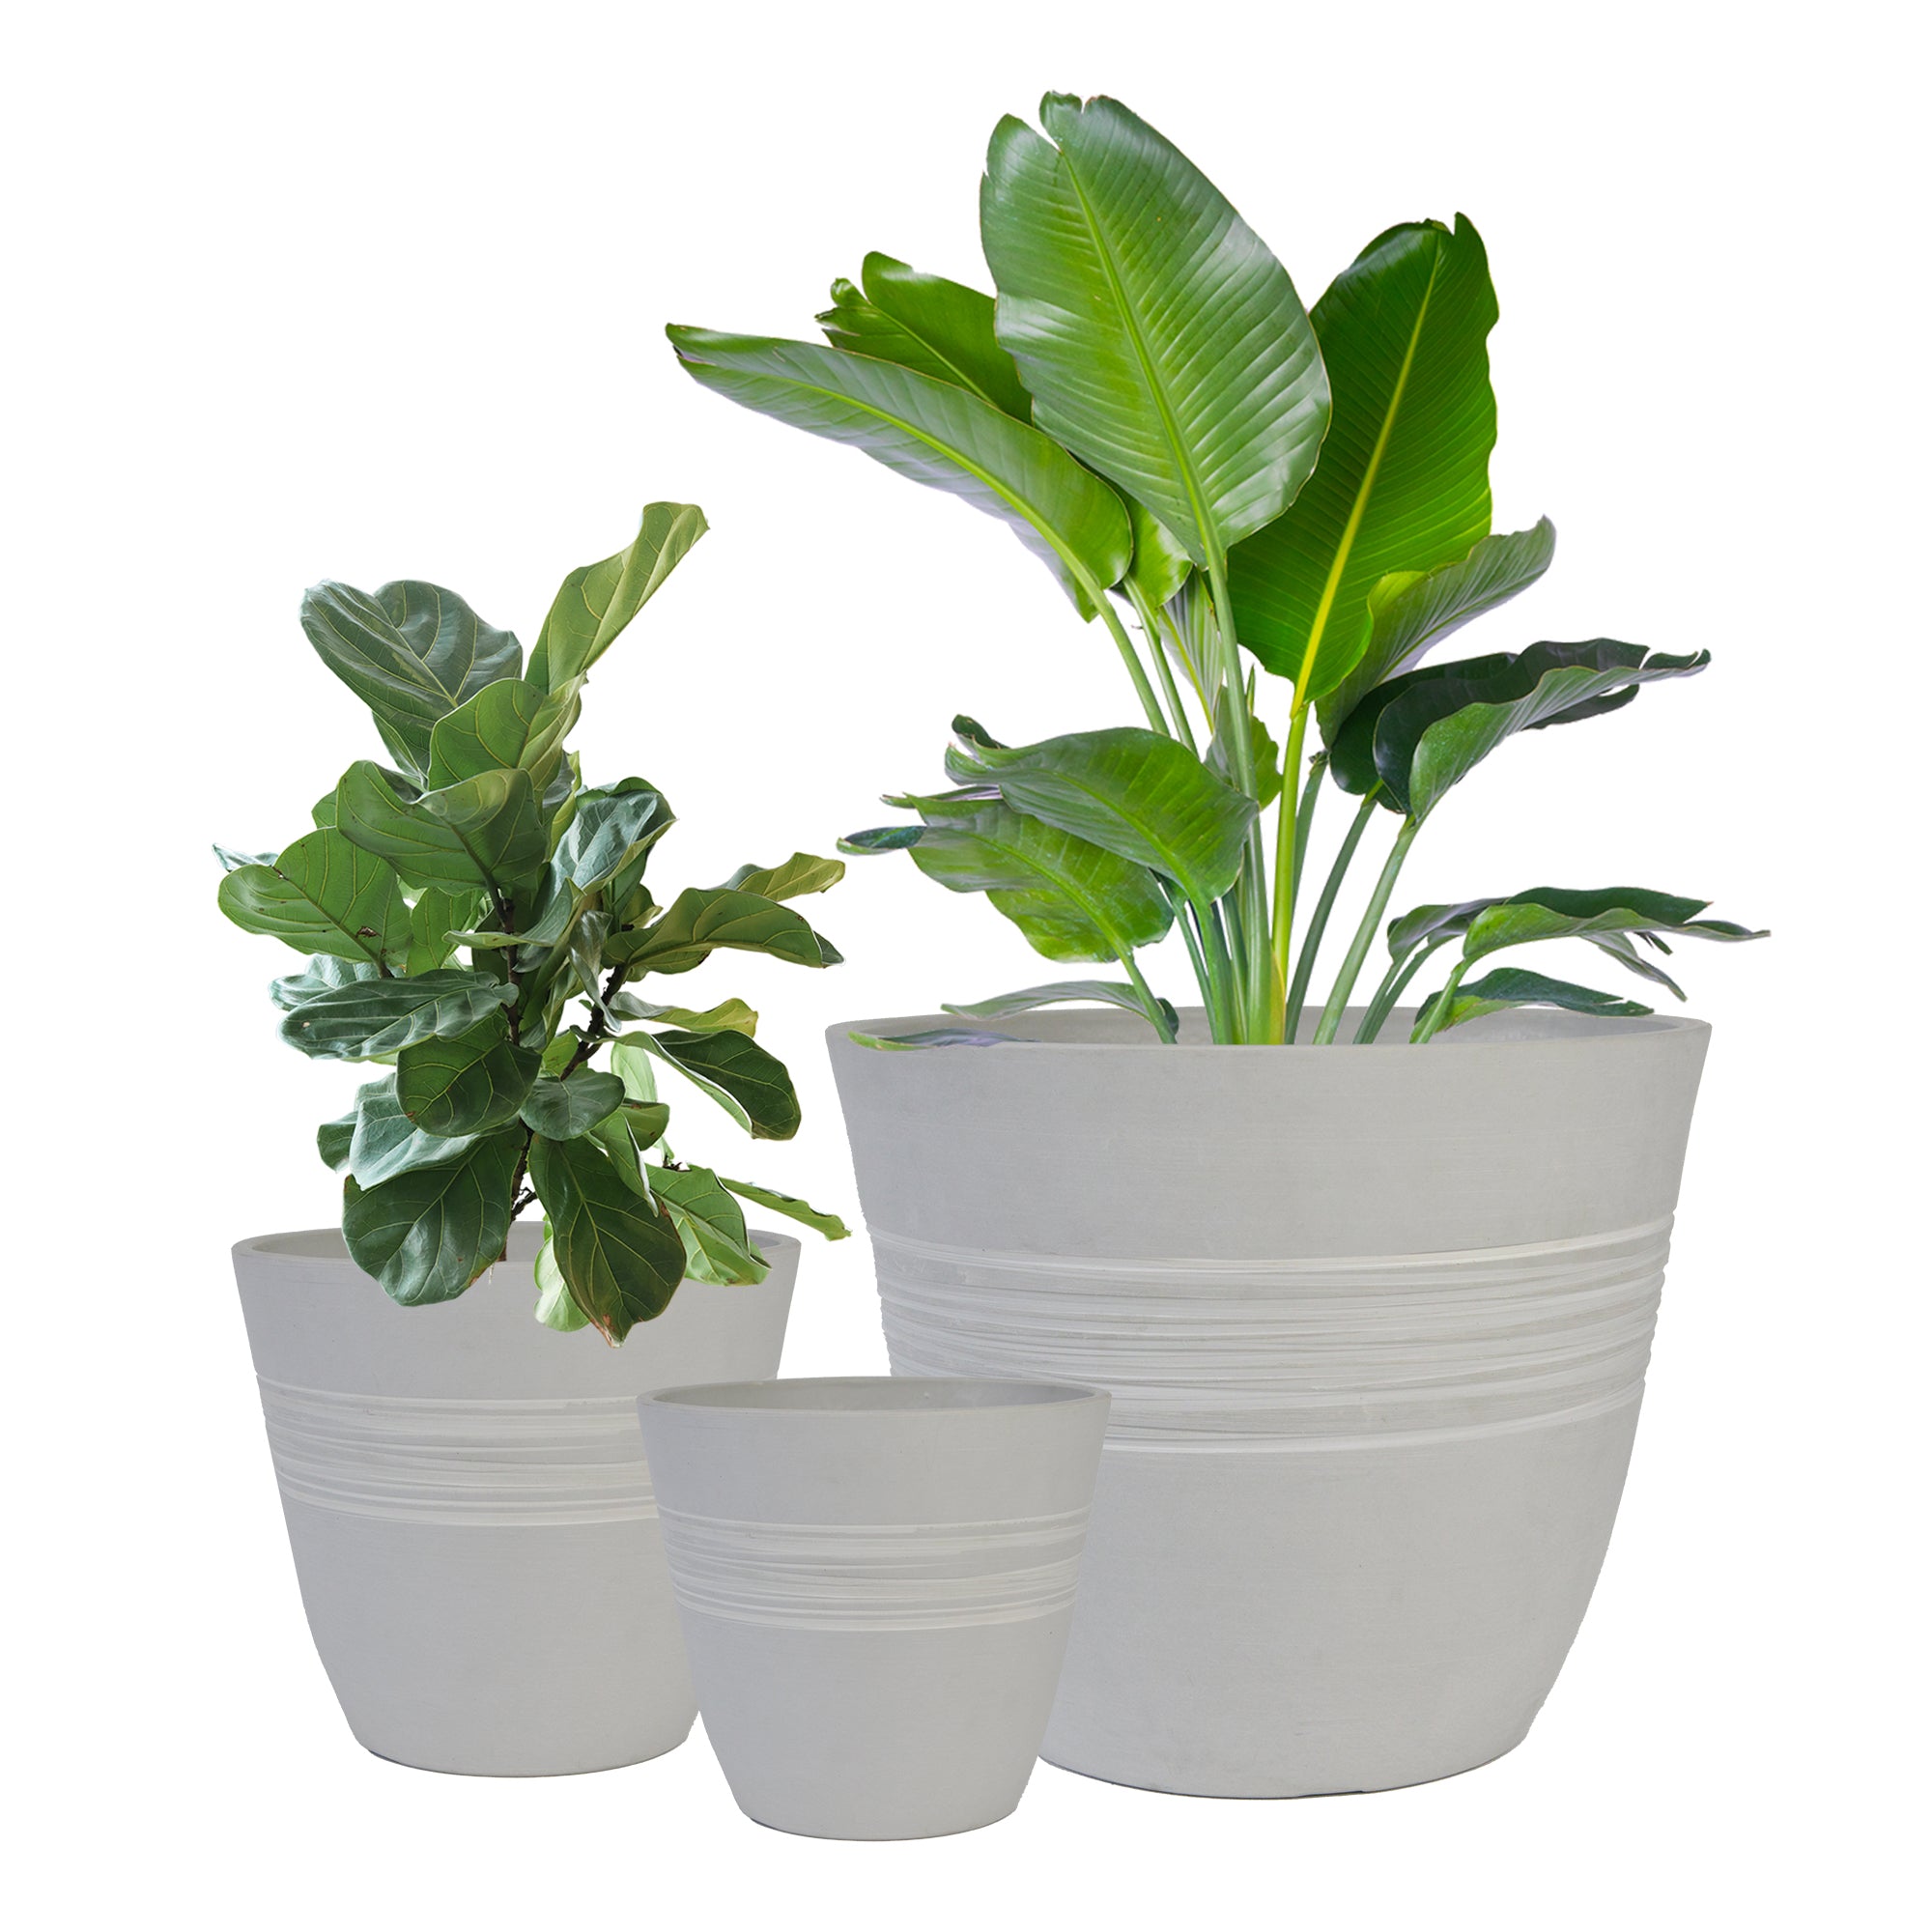
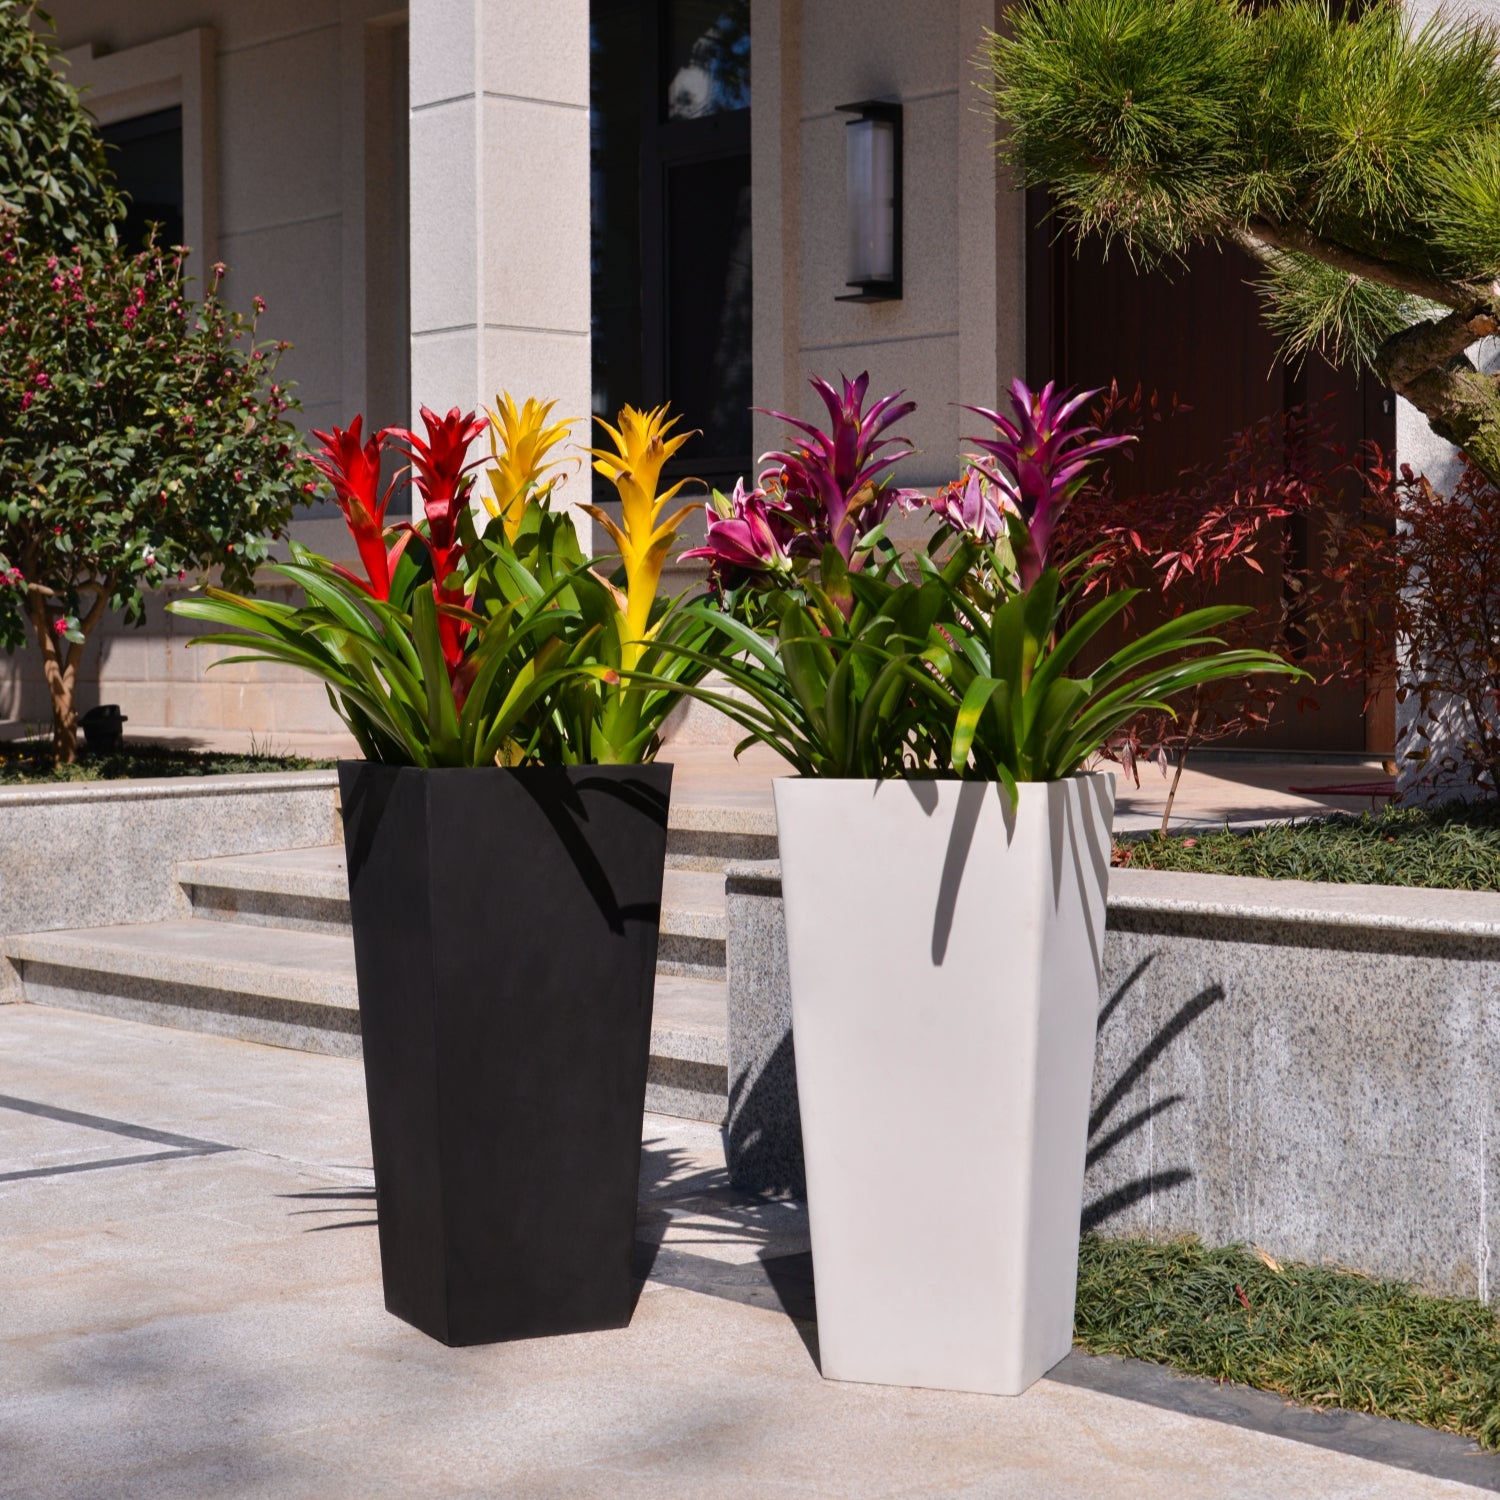
Greenship Garden is a U.S.-based brand dedicated to modern planter design and home gardening inspiration.
Our editorial team combines years of experience in plant care, garden styling, and sustainable living to help plant lovers create their perfect green spaces.
Through this blog, we share practical gardening tips, planter styling guides, and insights on how to choose the right pots for every home.
🌿 Written and reviewed by the Greenship Garden Team.
