Orchid Repotting Made Easy: The No-Break Aerial Root Method
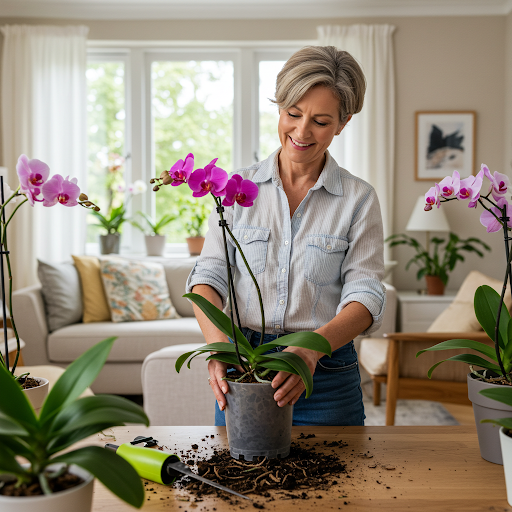
Repotting your orchid is essential for its health, but those prominent aerial roots can be intimidating. Many worry about snapping these vital structures during the process. Luckily, there’s a straightforward method that allows you to repot your orchids with confidence, keeping those aerial roots intact and healthy.
Hydration and Gentle Handling
The key to successfully repotting orchids without damaging their aerial roots lies in making them more pliable through hydration and handling them with extreme care.
Step-by-Step to Gentle Orchid Repotting:
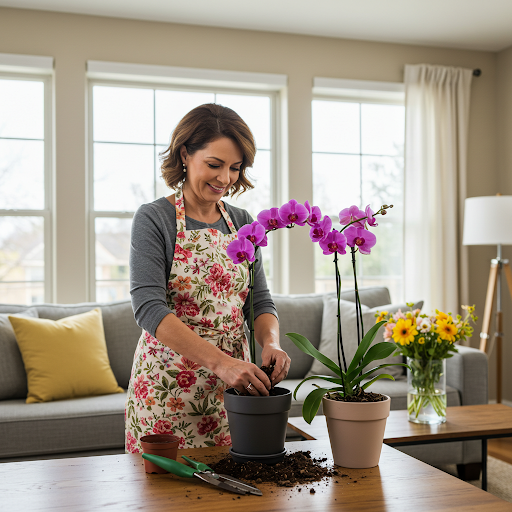
Prep Your Supplies: Gather a new pot, appropriate orchid potting mix, clean pruning shears, and a spray bottle filled with room-temperature water.
Loosen and Remove: Gently remove your orchid from its old pot. Carefully tease away as much of the old potting mix as possible from all the roots.
Assess and Trim: Inspect all roots, both those that were in the mix and the aerial ones. Trim away any dead, brown, or mushy roots with clean shears.
Hydrate for Flexibility (The Core Technique): This is where the magic happens. Lightly mist the aerial roots with room-temperature water using your spray bottle. You can also gently soak the entire root system in lukewarm water for about 10-15 minutes. This hydration makes the roots much more flexible and less prone to breaking when you manipulate them.
Position Carefully: Place a layer of fresh potting mix in the new pot. Center your orchid and gently guide the hydrated aerial roots into the pot. Don’t force them; if some don’t fit comfortably, it’s perfectly fine to leave them outside the pot.
Fill and Support: Fill the pot with fresh potting mix, gently working it around the roots. Avoid packing it down too tightly. You can use a small amount of damp sphagnum moss at the base for added stability if needed.
Skip Immediate Watering: Allow your orchid to rest for a few days before watering to give any minor root damage a chance to heal.
Key Takeaways for Intact Aerial Roots:
- Moisten First: Hydrating the roots is the most crucial step to prevent breakage.
- Gentle Movements: Handle the roots with extreme care; avoid sharp bends or forceful manipulation.
- Don’t Force: If an aerial root doesn’t want to go into the pot, don’t make it. It will continue to thrive outside.
Conclusion: Stress-Free Orchid Repotting
By focusing on hydrating the aerial roots before repotting and handling your orchid with a gentle touch, you can easily transplant your prized plant into a new pot without the worry of damaging those essential aerial roots. This simple method ensures a smooth transition and sets your orchid up for continued healthy growth and beautiful blooms.
About the Author — Greenship Garden Team
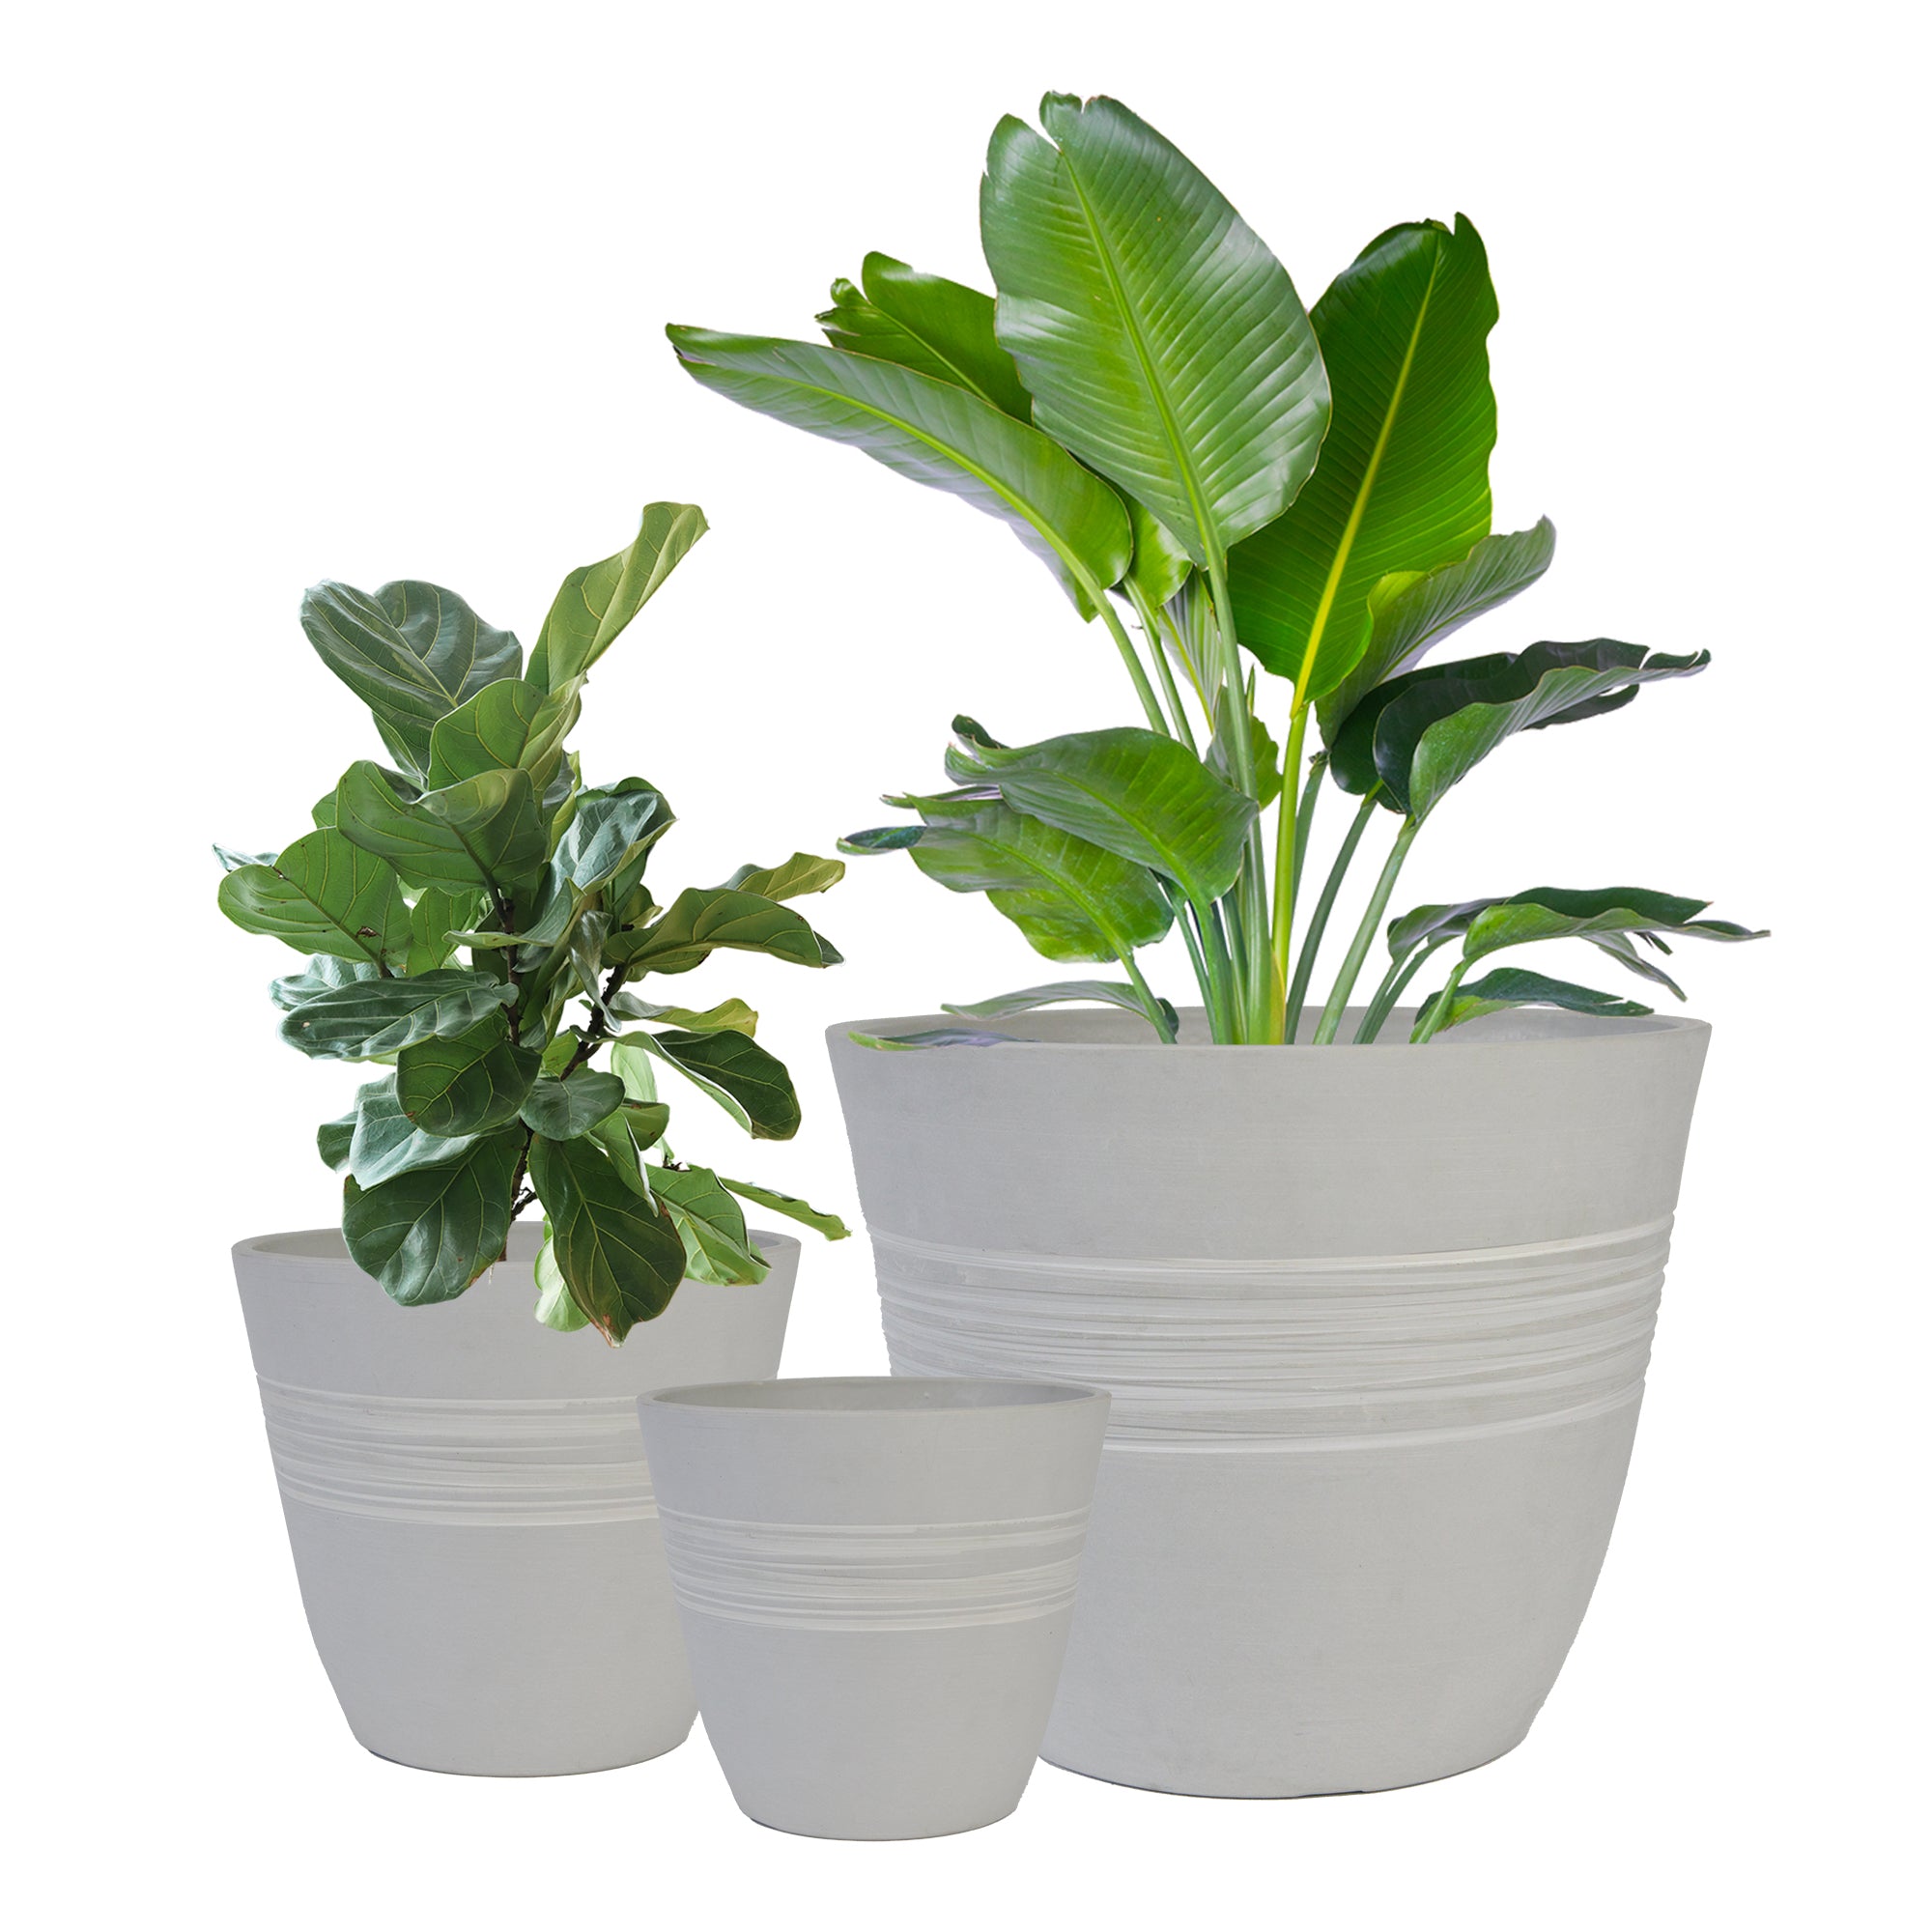
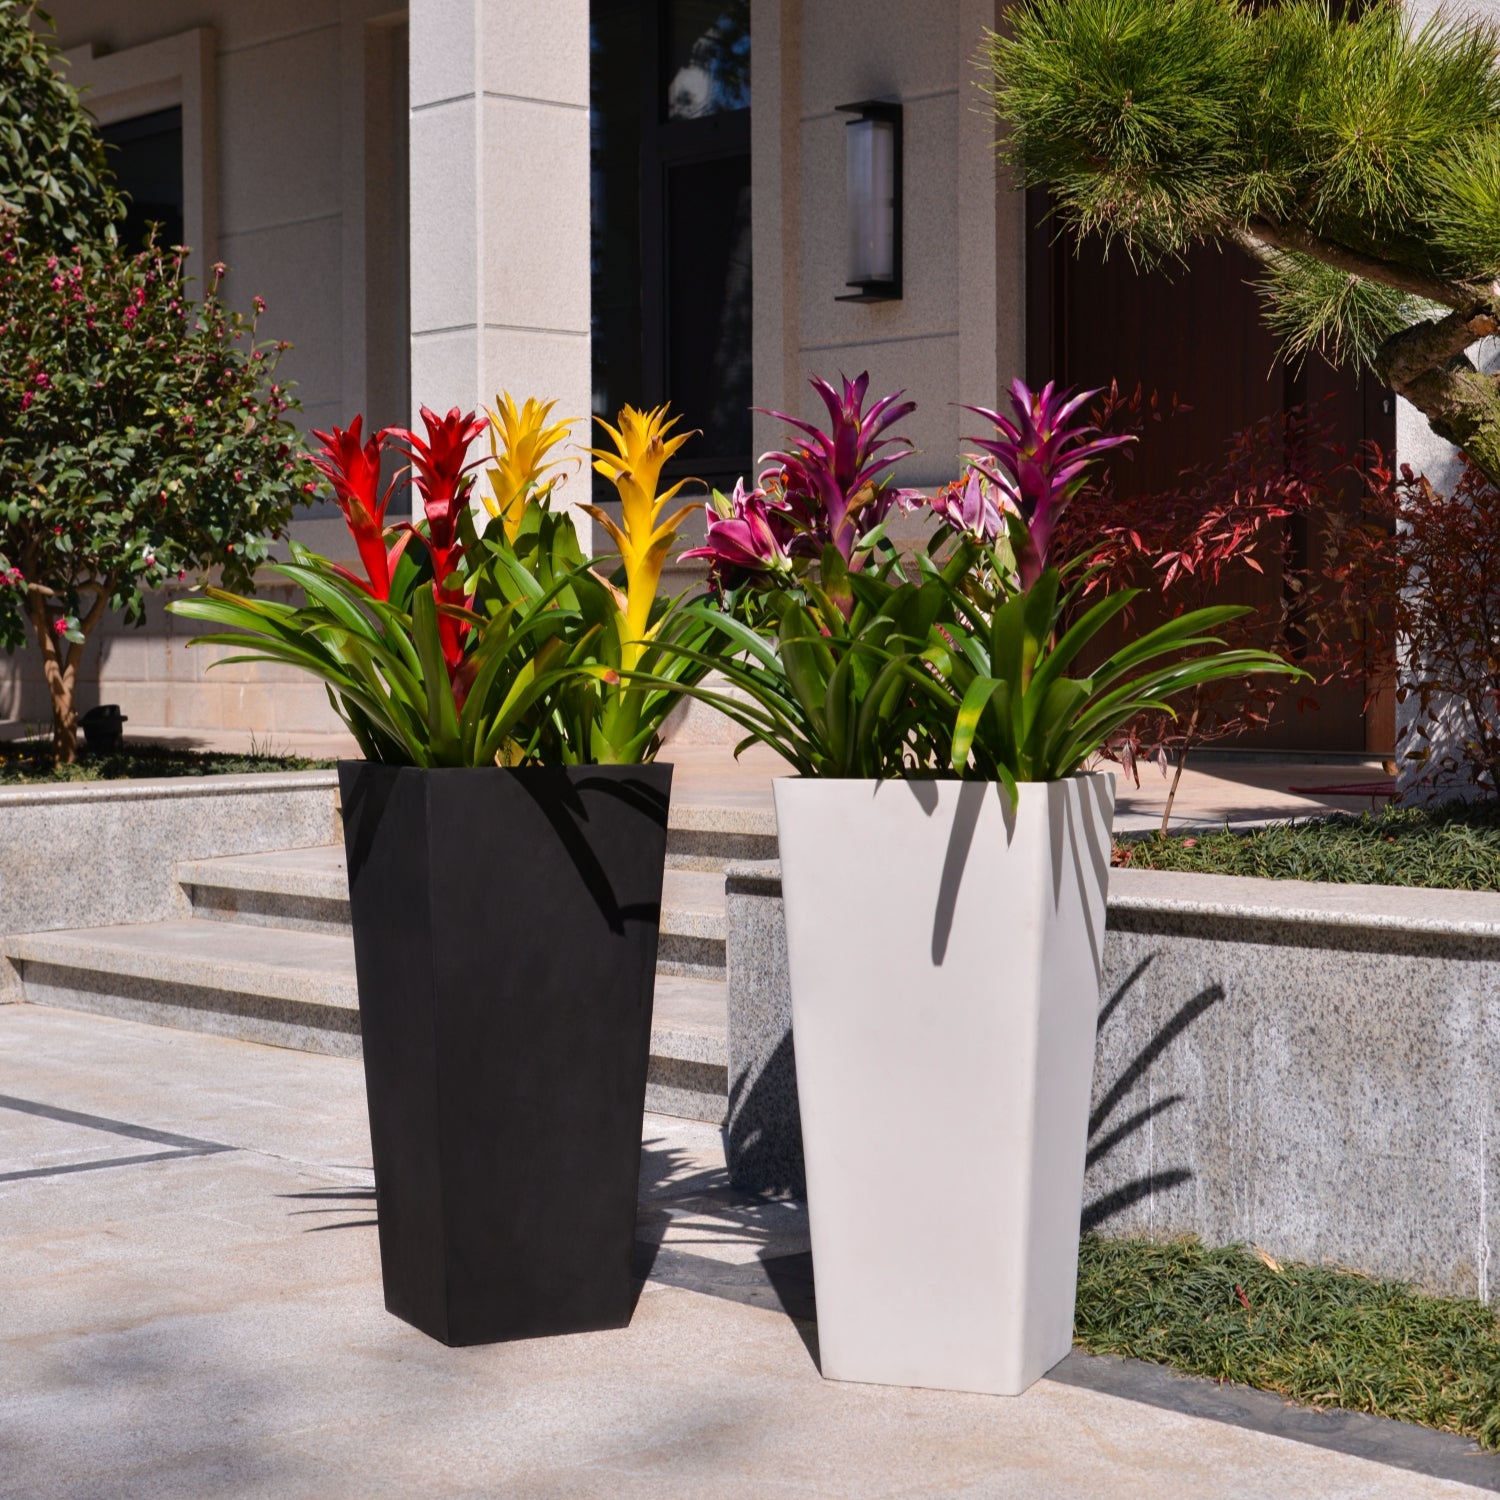
Greenship Garden is a U.S.-based brand dedicated to modern planter design and home gardening inspiration.
Our editorial team combines years of experience in plant care, garden styling, and sustainable living to help plant lovers create their perfect green spaces.
Through this blog, we share practical gardening tips, planter styling guides, and insights on how to choose the right pots for every home.
🌿 Written and reviewed by the Greenship Garden Team.