You’ll Regret Not Knowing This Trick: Grow HUGE Gourds in Bags!
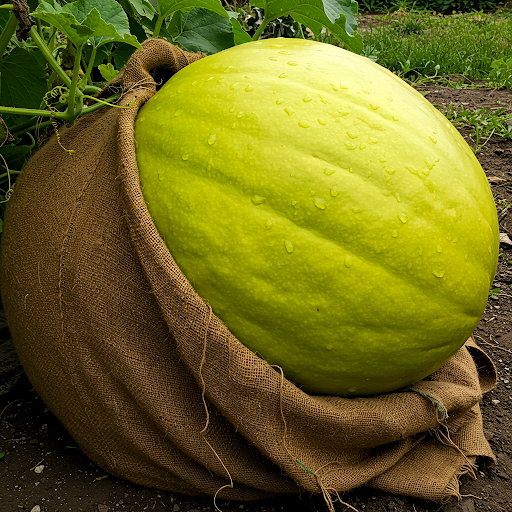
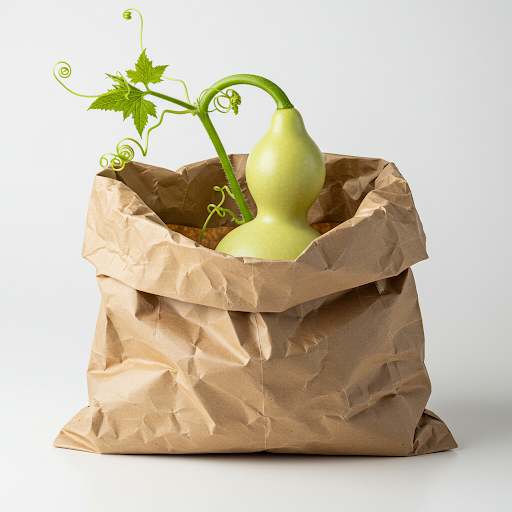
Gourds are one of the easiest and most rewarding vegetables to grow at home. Whether you’re aiming for bottle gourds, bitter melons, or ridge gourds, using grow bags instead of traditional in-ground beds can significantly increase your harvest while saving valuable garden space. This method allows you to cultivate large, healthy gourds in a controlled environment, reducing the risk of soil-borne diseases and pests.
If you haven’t tried growing gourds in bags before, you’re missing out on a surprisingly simple and highly effective gardening technique. Follow this step-by-step guide to unlock the secret to growing big, bountiful gourds right in your own backyard or balcony.
Why Grow Gourds in Bags? The Benefits are Abundant!
Growing gourds in planting bags offers several advantages:
- Space-Saving: Perfect for small gardens, balconies, patios, and urban environments.
- Improved Root Aeration: Promotes healthy root growth and prevents waterlogging, which gourds dislike.
- Portability: Easily move bags to optimize sunlight exposure and protect plants from adverse weather conditions.
- Pest and Disease Control: Reduces the risk of soil-borne pests and fungal infections that can plague in-ground gourd plants.
- Higher Yields: Concentrated nutrients in the bags lead to larger, healthier, and more abundant fruit.
Step-by-Step Guide: Growing Gourds in Bags for a Bumper Crop
What You’ll Need:
- Large grow bags (at least 10-15 gallons per plant)
- Gourd seeds or seedlings (choose your favorite variety)
- Nutrient-rich potting mix (a blend of compost, coco coir, and garden soil works well)
- Organic fertilizer (compost, banana peel tea, fish emulsion)
- Mulch (straw, dried leaves, or black plastic)
- Trellis or support structure (bamboo stakes, wire mesh, or a wooden frame)
- Watering can or drip irrigation system
Step 1: Select the Right Gourd Variety for Your Needs
You can successfully grow several types of gourds in bags, including:
- Bottle Gourds (Calabash): Versatile with large, cylindrical fruit, great for crafting or specific culinary uses.
- Bitter Melon (Karela): Highly nutritious with a distinct bitter flavor, popular in Asian cuisine.
- Ridge Gourd (Turai): Long, ridged fruit, excellent for soups, stews, and stir-fries.
- Snake Gourd (Chichinda): Slender, elongated fruit with a mild flavor, often used in curries.
Choose a variety that suits your taste and local growing conditions. Consider the mature size of the gourd when selecting your grow bag size.
Step 2: Prepare Your Planting Bags for Success
- Choose a Large Grow Bag: Opt for bags that are at least 18 inches deep and 15 inches wide to accommodate the extensive root system of gourd plants.
- Ensure Drainage: Make 5-7 small drainage holes at the bottom of each bag to allow excess water to escape.
- Fill with a Rich Soil Mix: Use a well-draining mix consisting of approximately 40% garden soil, 40% compost, and 20% coco coir or sand. This provides both nutrients and good drainage.
- Moisten the Soil: Lightly water the soil mix before planting.
Step 3: Plant Your Gourd Seeds or Seedlings with Care
- From Seed:
- Soak seeds in warm water for 24 hours to encourage faster germination.
- Sow 2-3 seeds per bag, about ½ inch deep.
- Cover lightly with soil and mist with water.
- Place the bags in a warm, sunny location that receives at least 6-8 hours of direct sunlight daily.
- Germination typically takes 7-14 days.
- Once seedlings emerge, thin out the weaker ones, leaving only one strong plant per bag.
- From Seedlings:
- Transplant seedlings when they have 3-4 true leaves.
- Dig a small hole in the soil in the bag and carefully plant the seedling.
- Water gently to help the roots settle.
Step 4: Provide Strong Support for Climbing Vines
Gourds are vining plants and require a trellis or stakes to grow vertically. This saves space, improves air circulation, and makes harvesting easier.
- Best Support Options:
- Bamboo Stakes: Simple and natural-looking support.
- Wire Mesh or Netting: Provides a sturdy framework for climbing vines.
- Wooden or Metal Trellises: Ensures even distribution of the heavy fruit.
Securely install your chosen support structure near the grow bag when you plant your seeds or seedlings. As the vines grow, gently tie them to the support using soft twine or plant ties to encourage upward growth.
Step 5: Water Regularly and Mulch to Conserve Moisture
Water your gourd plants deeply 2-3 times per week, depending on the weather and soil moisture levels. Check the soil regularly; it should be consistently moist but not waterlogged. Gourds are particularly thirsty during their rapid growth and fruiting stages.
Apply a layer of mulch around the base of the plants to help retain soil moisture, suppress weeds, and regulate soil temperature.1 Straw, dried leaves, or black plastic mulch are good options.
Tip: Water early in the morning to allow foliage to dry before nightfall, which can help prevent fungal diseases.
Step 6: Fertilize for Maximum Growth and Fruit Production
Gourds are heavy feeders and will benefit from regular fertilization to produce large, healthy fruits.
- 2 Weeks After Planting: Apply a liquid organic fertilizer such as diluted compost tea or fish emulsion.
- During the Flowering Stage: Switch to a fertilizer that is lower in nitrogen and higher in phosphorus and potassium (e.g., a 5-10-10 formula) to encourage fruit development.
- Every 2-3 Weeks: Add banana peel tea (soak banana peels in water) to provide natural potassium and calcium.
- Boost Growth: Sprinkle wood ash (use sparingly) or crushed eggshells around the base of the plants for additional nutrients.
Step 7: Manage Common Pests and Diseases
While growing in bags reduces some soil-borne issues, keep an eye out for common gourd pests and diseases:
| Problem | Cause | Solution |
| Aphids | Sap-sucking insects on leaves | Spray with neem oil or insecticidal soap. |
| Powdery Mildew | High humidity, poor air circulation | Ensure proper spacing and sunlight; apply a baking soda solution. |
| Yellowing Leaves | Overwatering or nutrient deficiency | Reduce watering and apply organic fertilizer. |
| Fruit Rot | Excess moisture or contact with soil | Support fruit with netting or straw to keep it off the ground. |
Companion planting with marigolds, garlic, or basil can help deter pests naturally.
Step 8: Harvest Your Big and Healthy Gourds at the Right Time
Gourds typically mature in 60-90 days, depending on the variety and growing conditions.
Harvest when the fruit is firm, heavy, and has reached its mature size and color for the specific variety you are growing. Use sharp pruning shears or a knife to cut the fruit from the vine, leaving a short stem attached.
Frequent harvesting will encourage the plant to produce more fruit!
Extra Tips for Growing Even Larger Gourds:
- Pinch off excess side shoots and blossoms to direct the plant’s energy into fruit growth.
- Ensure your plants receive consistent and ample sunlight for faster and healthier development.
- Occasionally rotate the grow bags to ensure even sunlight exposure on all sides of the plant.
- Train the vines upwards to prevent overcrowding and improve air circulation, reducing the risk of disease.
- If natural pollinators are scarce, hand-pollinate the flowers by transferring pollen from the male flowers to the female flowers using a small brush.
Final Thoughts:
Growing gourds in bags is a game-changing method that can deliver bigger, healthier, and more abundant fruit with minimal effort. This technique is perfect for home gardeners looking for space-saving, high-yield solutions. With the right soil, watering, and support, your gourd plants will thrive and reward you with a bountiful harvest.
Don’t wait – start growing your gourds in bags today and enjoy the satisfaction of fresh, homegrown produce! You’ll wish you knew this trick sooner!
About the Author — Greenship Garden Team
Greenship Garden is a U.S.-based brand dedicated to modern planter design and home gardening inspiration.
Our editorial team combines years of experience in plant care, garden styling, and sustainable living to help plant lovers create their perfect green spaces.
Through this blog, we share practical gardening tips, planter styling guides, and insights on how to choose the right pots for every home.
🌿 Written and reviewed by the Greenship Garden Team.