How Can I Ensure Good Drainage for Large Outdoor Planters to Prevent Root Rot? Keeping Roots Happy and Healthy
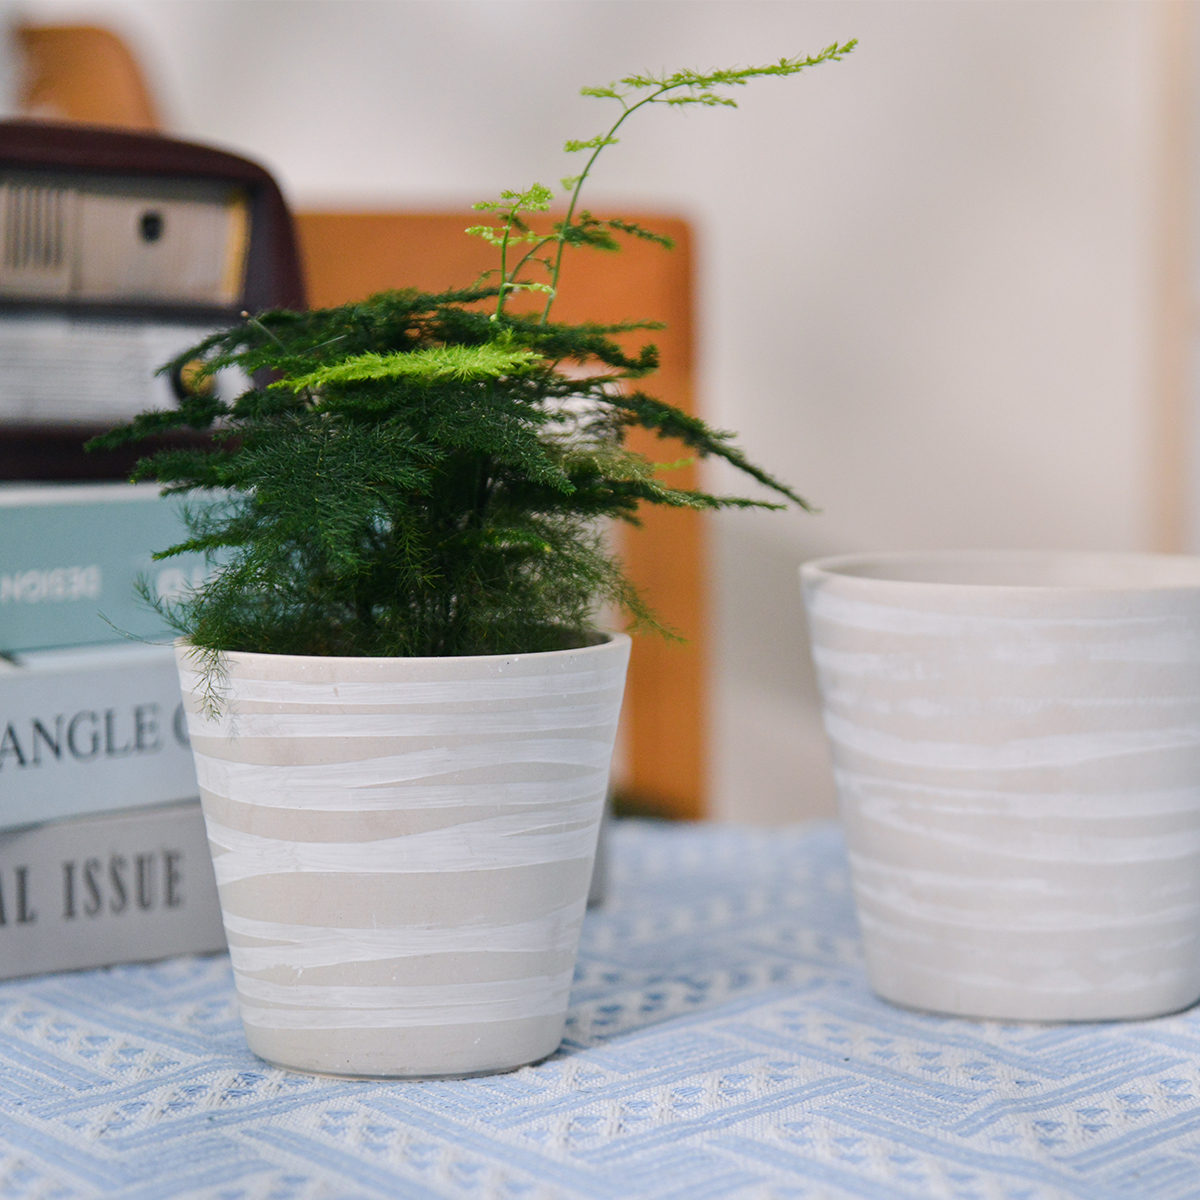
Root rot is a common culprit behind the demise of many container plants, especially in large outdoor planters where moisture can easily accumulate. Ensuring proper drainage is absolutely essential for the health and longevity of your plants. When water sits stagnant in the soil, it deprives the roots of oxygen, creating an environment where harmful fungi thrive and cause rot. Here’s a comprehensive guide on how to ensure good drainage for your large outdoor planters and keep your plants thriving.
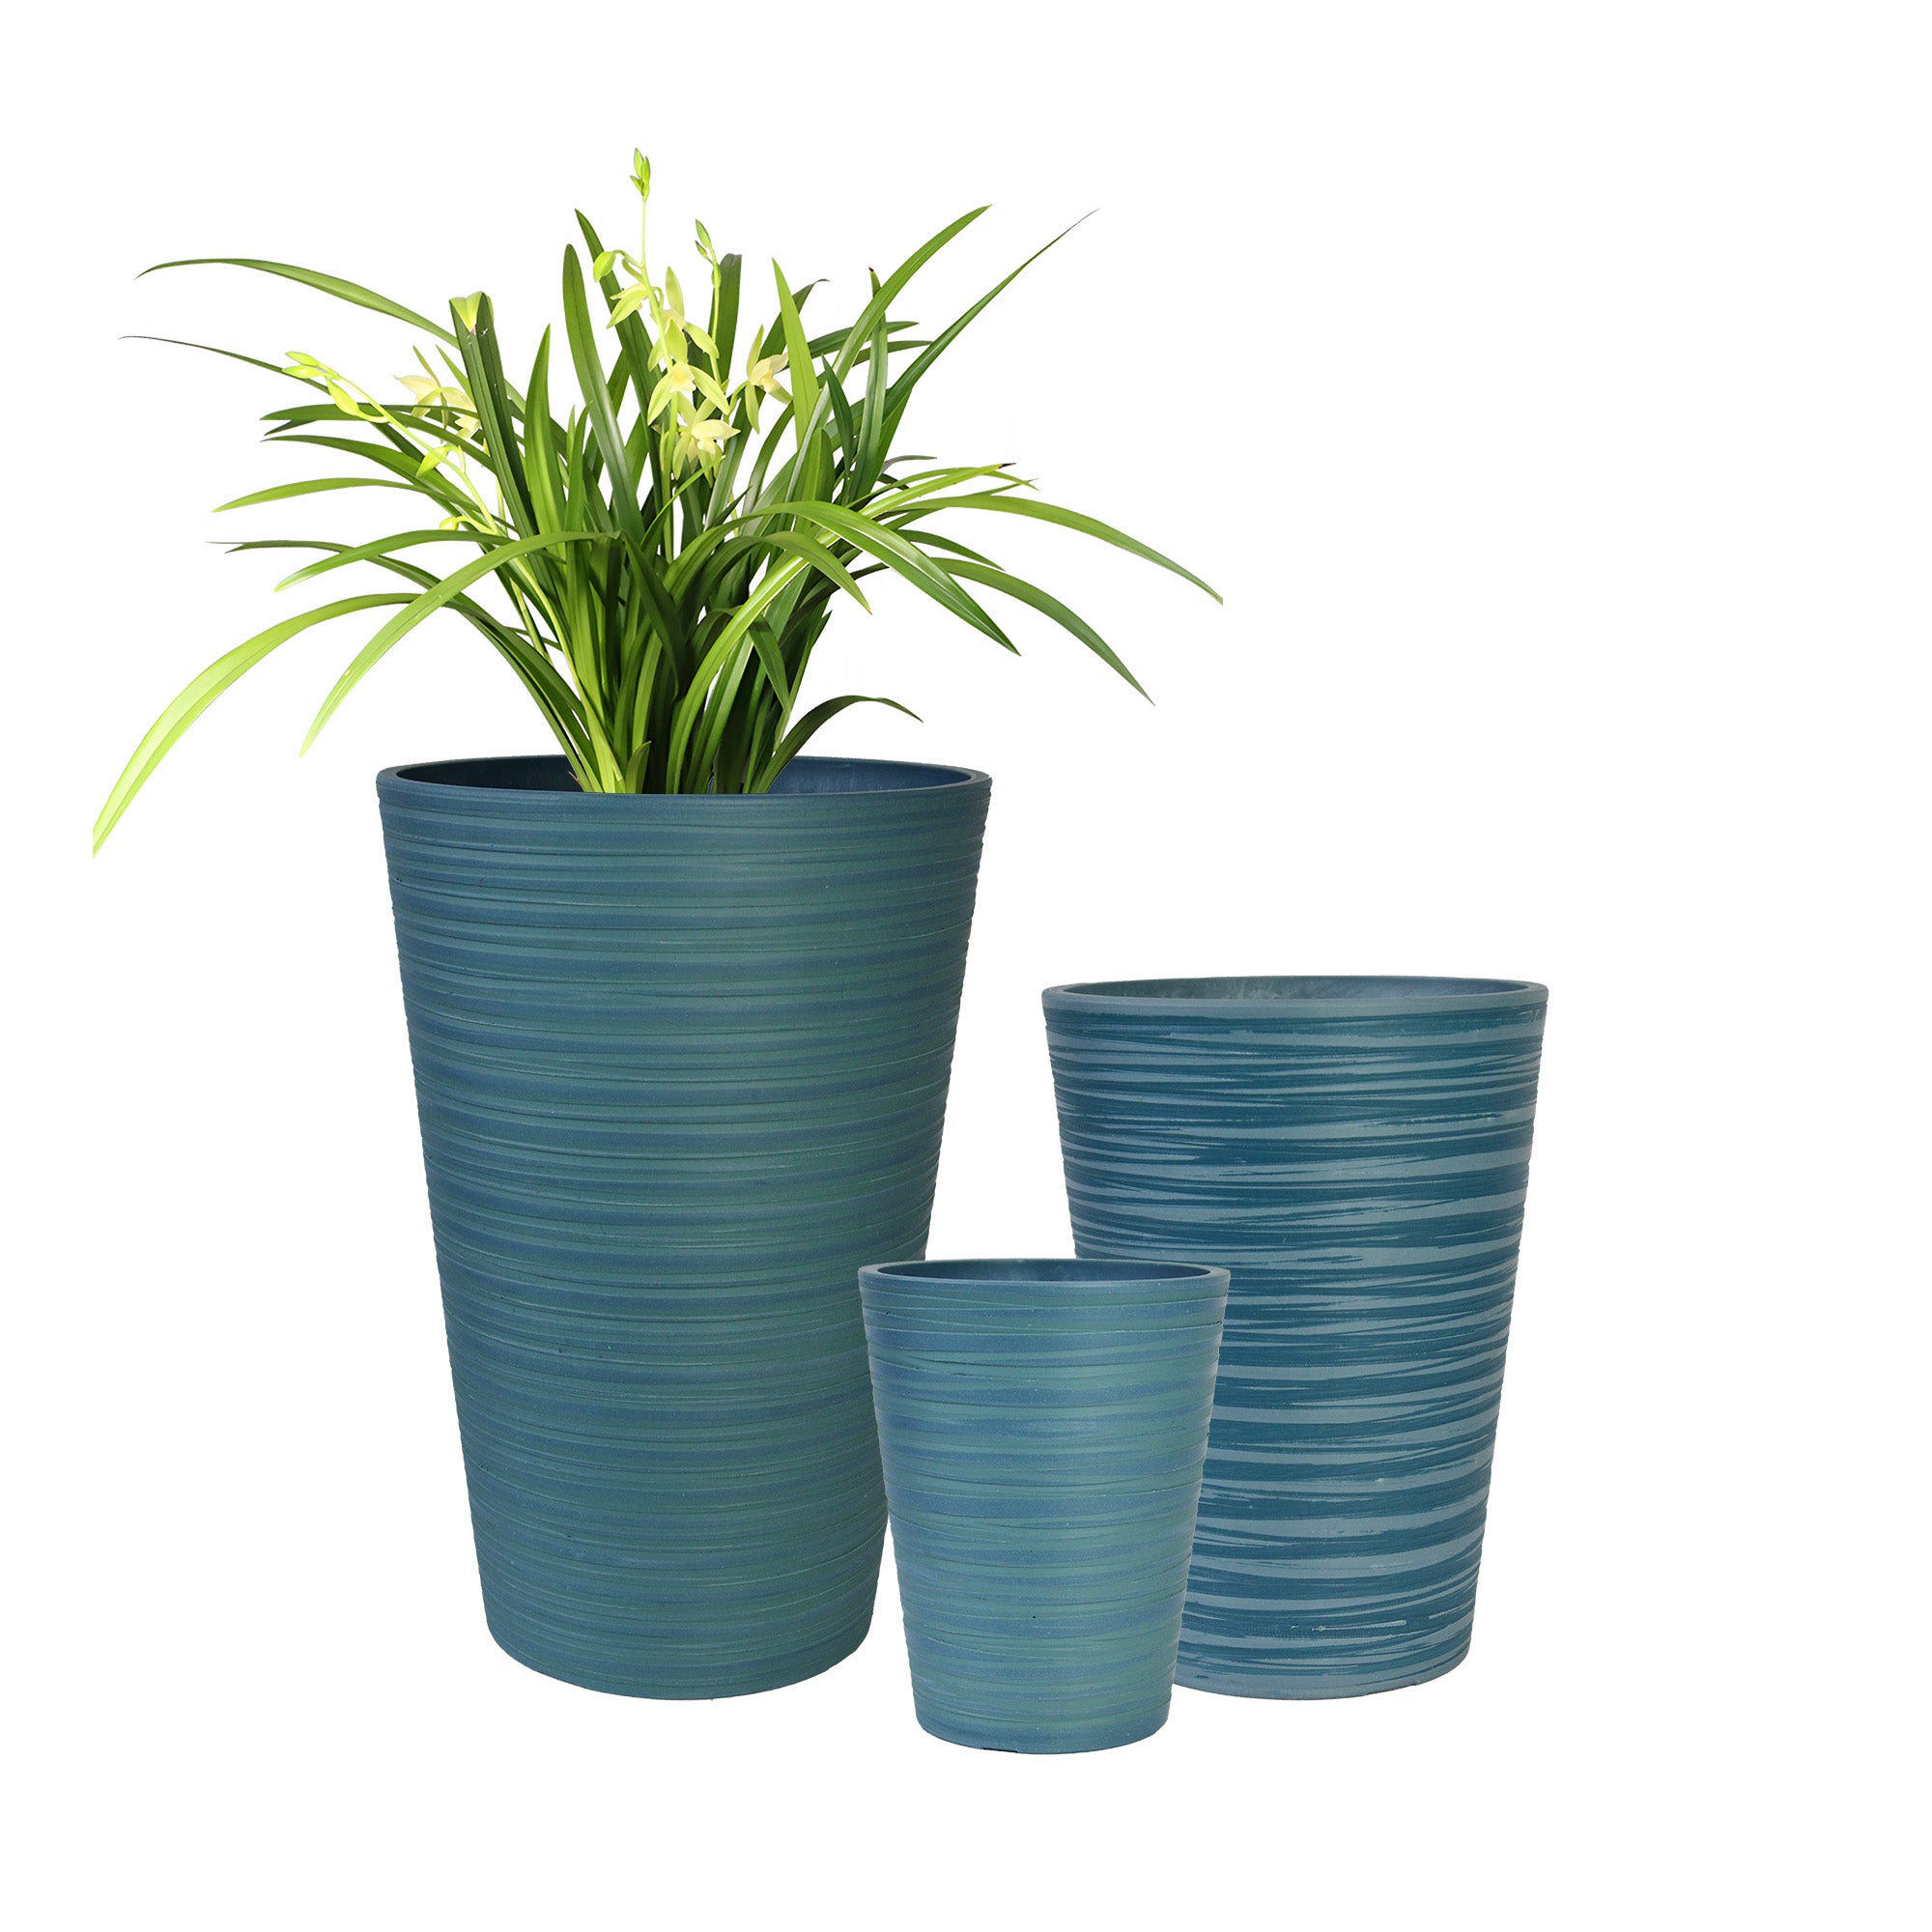
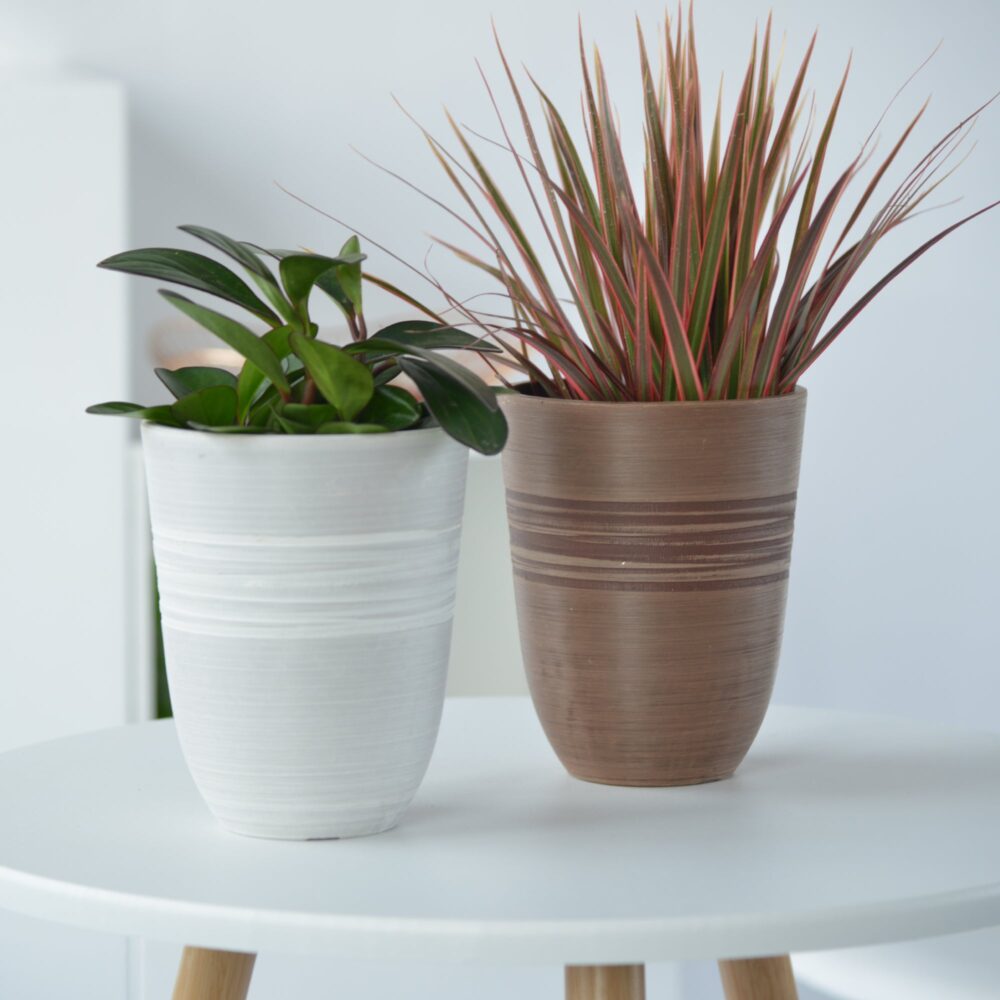
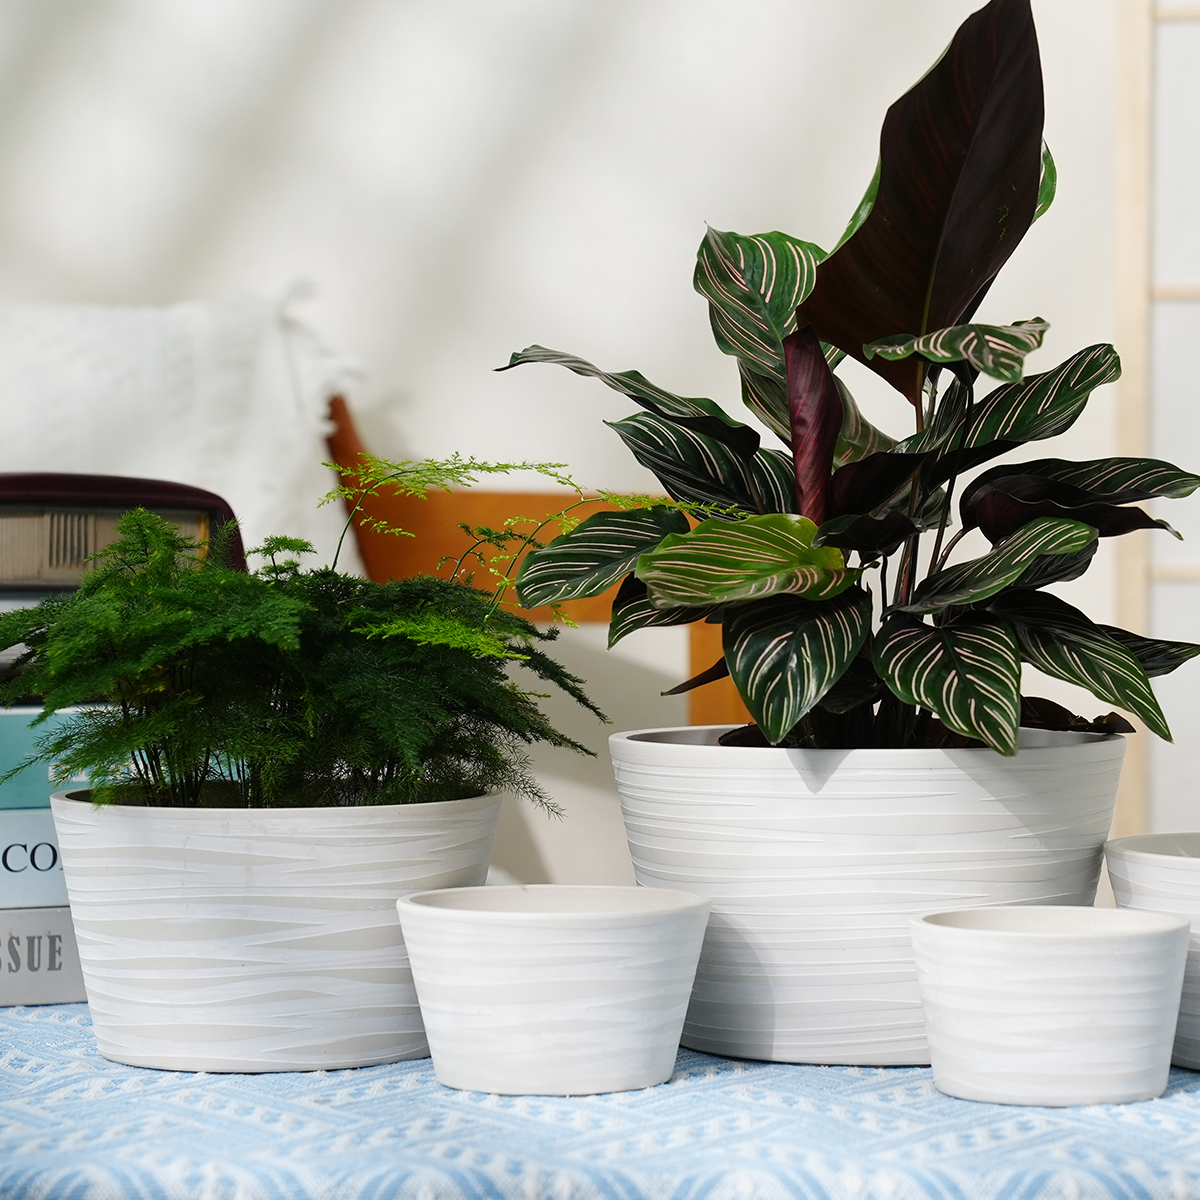
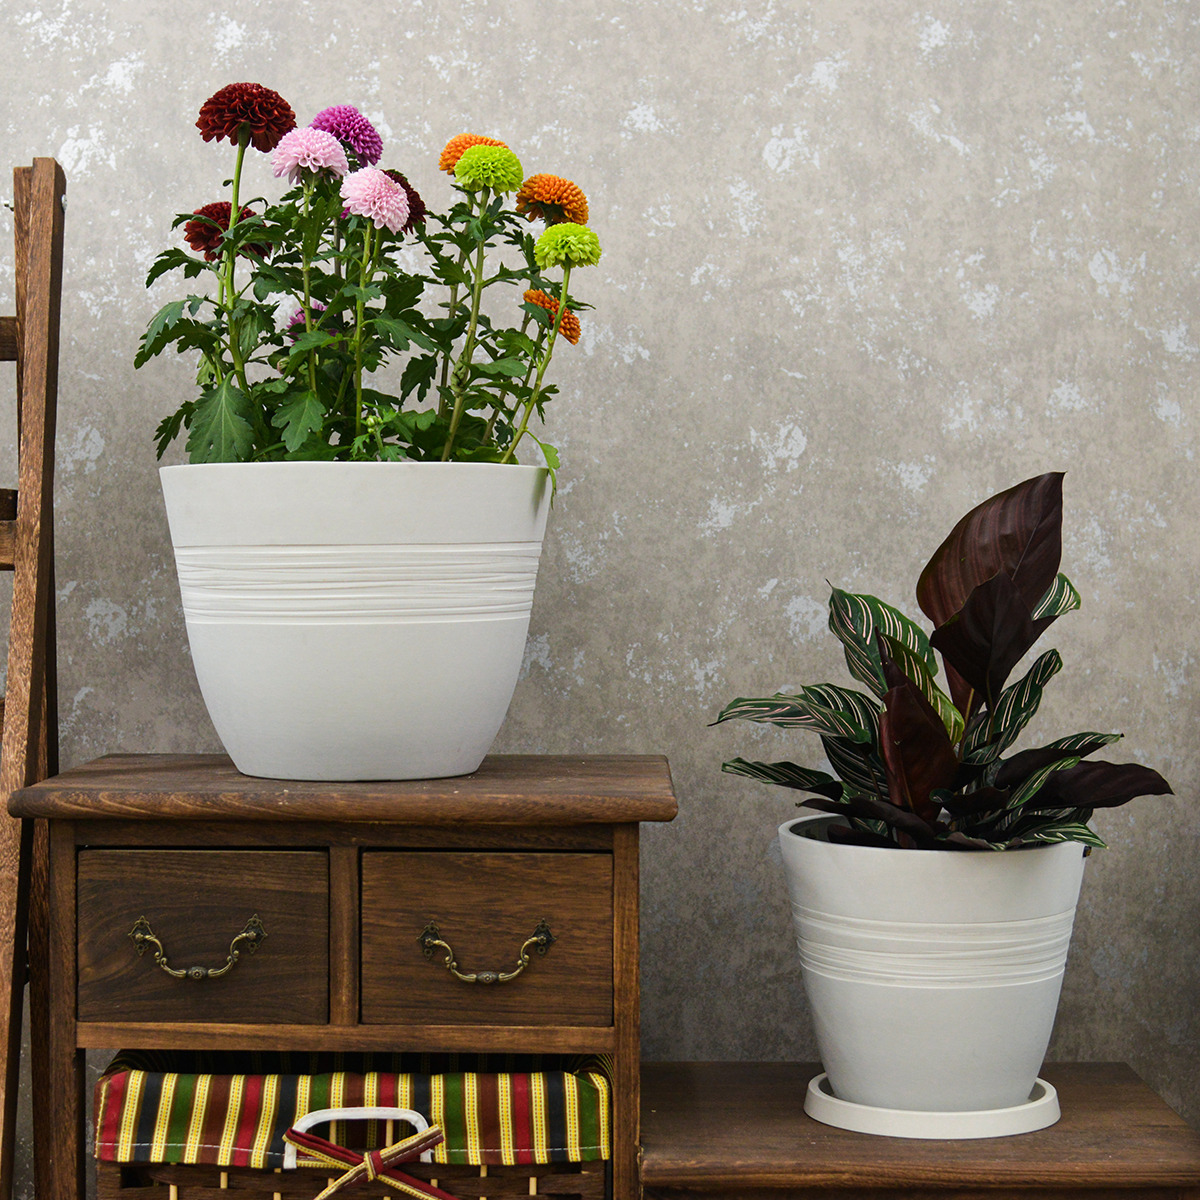
1. Choose Planters with Adequate Drainage Holes:
The first and most crucial step is selecting planters that already have sufficient drainage holes.
- Number and Size Matter: Look for planters with multiple drainage holes, especially for larger containers. The holes should be large enough to allow water to escape freely without getting easily clogged. Aim for holes that are at least ½ to ¾ inches in diameter for large planters.
- Inspect Before Planting: Even if a planter has drainage holes, double-check that they aren’t blocked or too small. You may need to drill additional holes if necessary (see point #7).
2. Elevate Your Planters:
Lifting your planters slightly off the ground can significantly improve drainage and airflow.
- Use Pot Feet or Risers: Place your planters on pot feet, bricks, or specialized planter risers. This creates a gap underneath, allowing excess water to drain away freely and preventing the bottom of the pot from sitting in standing water, which can occur after heavy rain.
- Improve Air Circulation: Elevation also promotes air circulation around the base of the planter, which can help the soil dry out more evenly.
3. Use the Right Potting Mix:
The type of potting mix you use plays a vital role in drainage.
- Avoid Garden Soil: Garden soil is too dense for containers and tends to retain too much moisture, leading to poor drainage and compaction.
- Opt for a Well-Draining Potting Mix: Choose a high-quality potting mix specifically formulated for containers. These mixes typically contain ingredients like peat moss, coir, perlite, and vermiculite, which help create air pockets and facilitate drainage.
- Consider Adding Drainage Amendments: For plants that are particularly sensitive to overwatering, you can amend your potting mix with extra perlite or coarse sand to further improve drainage.
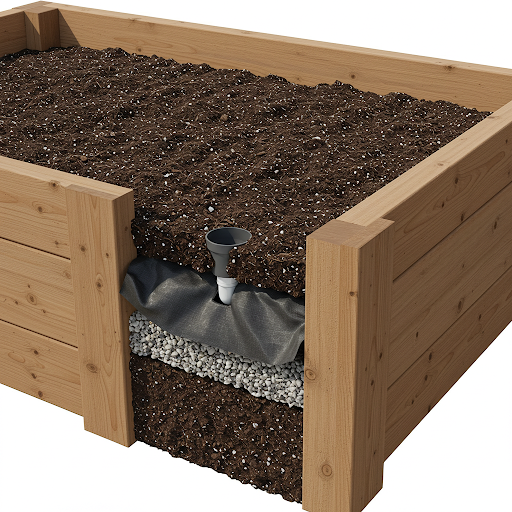
4. Be Cautious with the Drainage Layer (Gravel or Rocks):
While it was once common practice to add a layer of gravel or rocks at the bottom of planters to improve drainage, current horticultural advice suggests this might not be as effective as previously thought and can even hinder drainage in some cases.
- The Science Behind It: The principle is that water doesn’t move easily from a fine-textured material (potting mix) to a coarse-textured material (gravel). This can create a perched water table at the interface between the soil and the gravel, potentially keeping the lower part of the soil saturated.
- Better Alternatives: Instead of a thick layer of gravel, consider placing a piece of landscape fabric over the drainage holes to prevent the potting mix from washing out while still allowing water to escape.
5. Avoid Overwatering:
Even with excellent drainage, overwatering can still lead to root rot.
- Water Only When Needed: Check the soil moisture regularly by sticking your finger about an inch or two into the soil. Water only when the top inch feels dry to the touch.
- Water Thoroughly: When you do water, water deeply until water drains out of the bottom of the planter. This ensures the entire root ball is moistened.
- Adjust Watering Based on Weather: Water more frequently during hot, sunny, or windy weather, and less often during cooler or cloudy periods.
6. Monitor Drainage After Watering:
Pay attention to how quickly water drains from your planters after you water them.
- Water Should Drain Freely: Water should start draining from the drainage holes within a few minutes of watering.
- Slow Drainage is a Warning Sign: If water takes a long time to drain or doesn’t drain at all, it indicates a drainage problem that needs to be addressed. This could be due to clogged drainage holes, compacted soil, or an inappropriate potting mix.
7. Drill Additional Drainage Holes if Necessary:

If your planter doesn’t have enough drainage holes or you suspect the existing ones are inadequate, don’t hesitate to drill more.
- Material Matters: The type of drill bit you need will depend on the material of your planter (e.g., masonry bit for ceramic or concrete, standard drill bit for plastic or wood).
- Start Small and Increase Size: Begin with a smaller drill bit and gradually increase the size of the holes until they are sufficient for drainage.
- Consider Multiple Locations: Space the drainage holes evenly across the bottom of the planter.
By implementing these strategies, you can effectively ensure good drainage for your large outdoor planters, creating a healthy environment for your plants and preventing the dreaded root rot. Happy gardening!