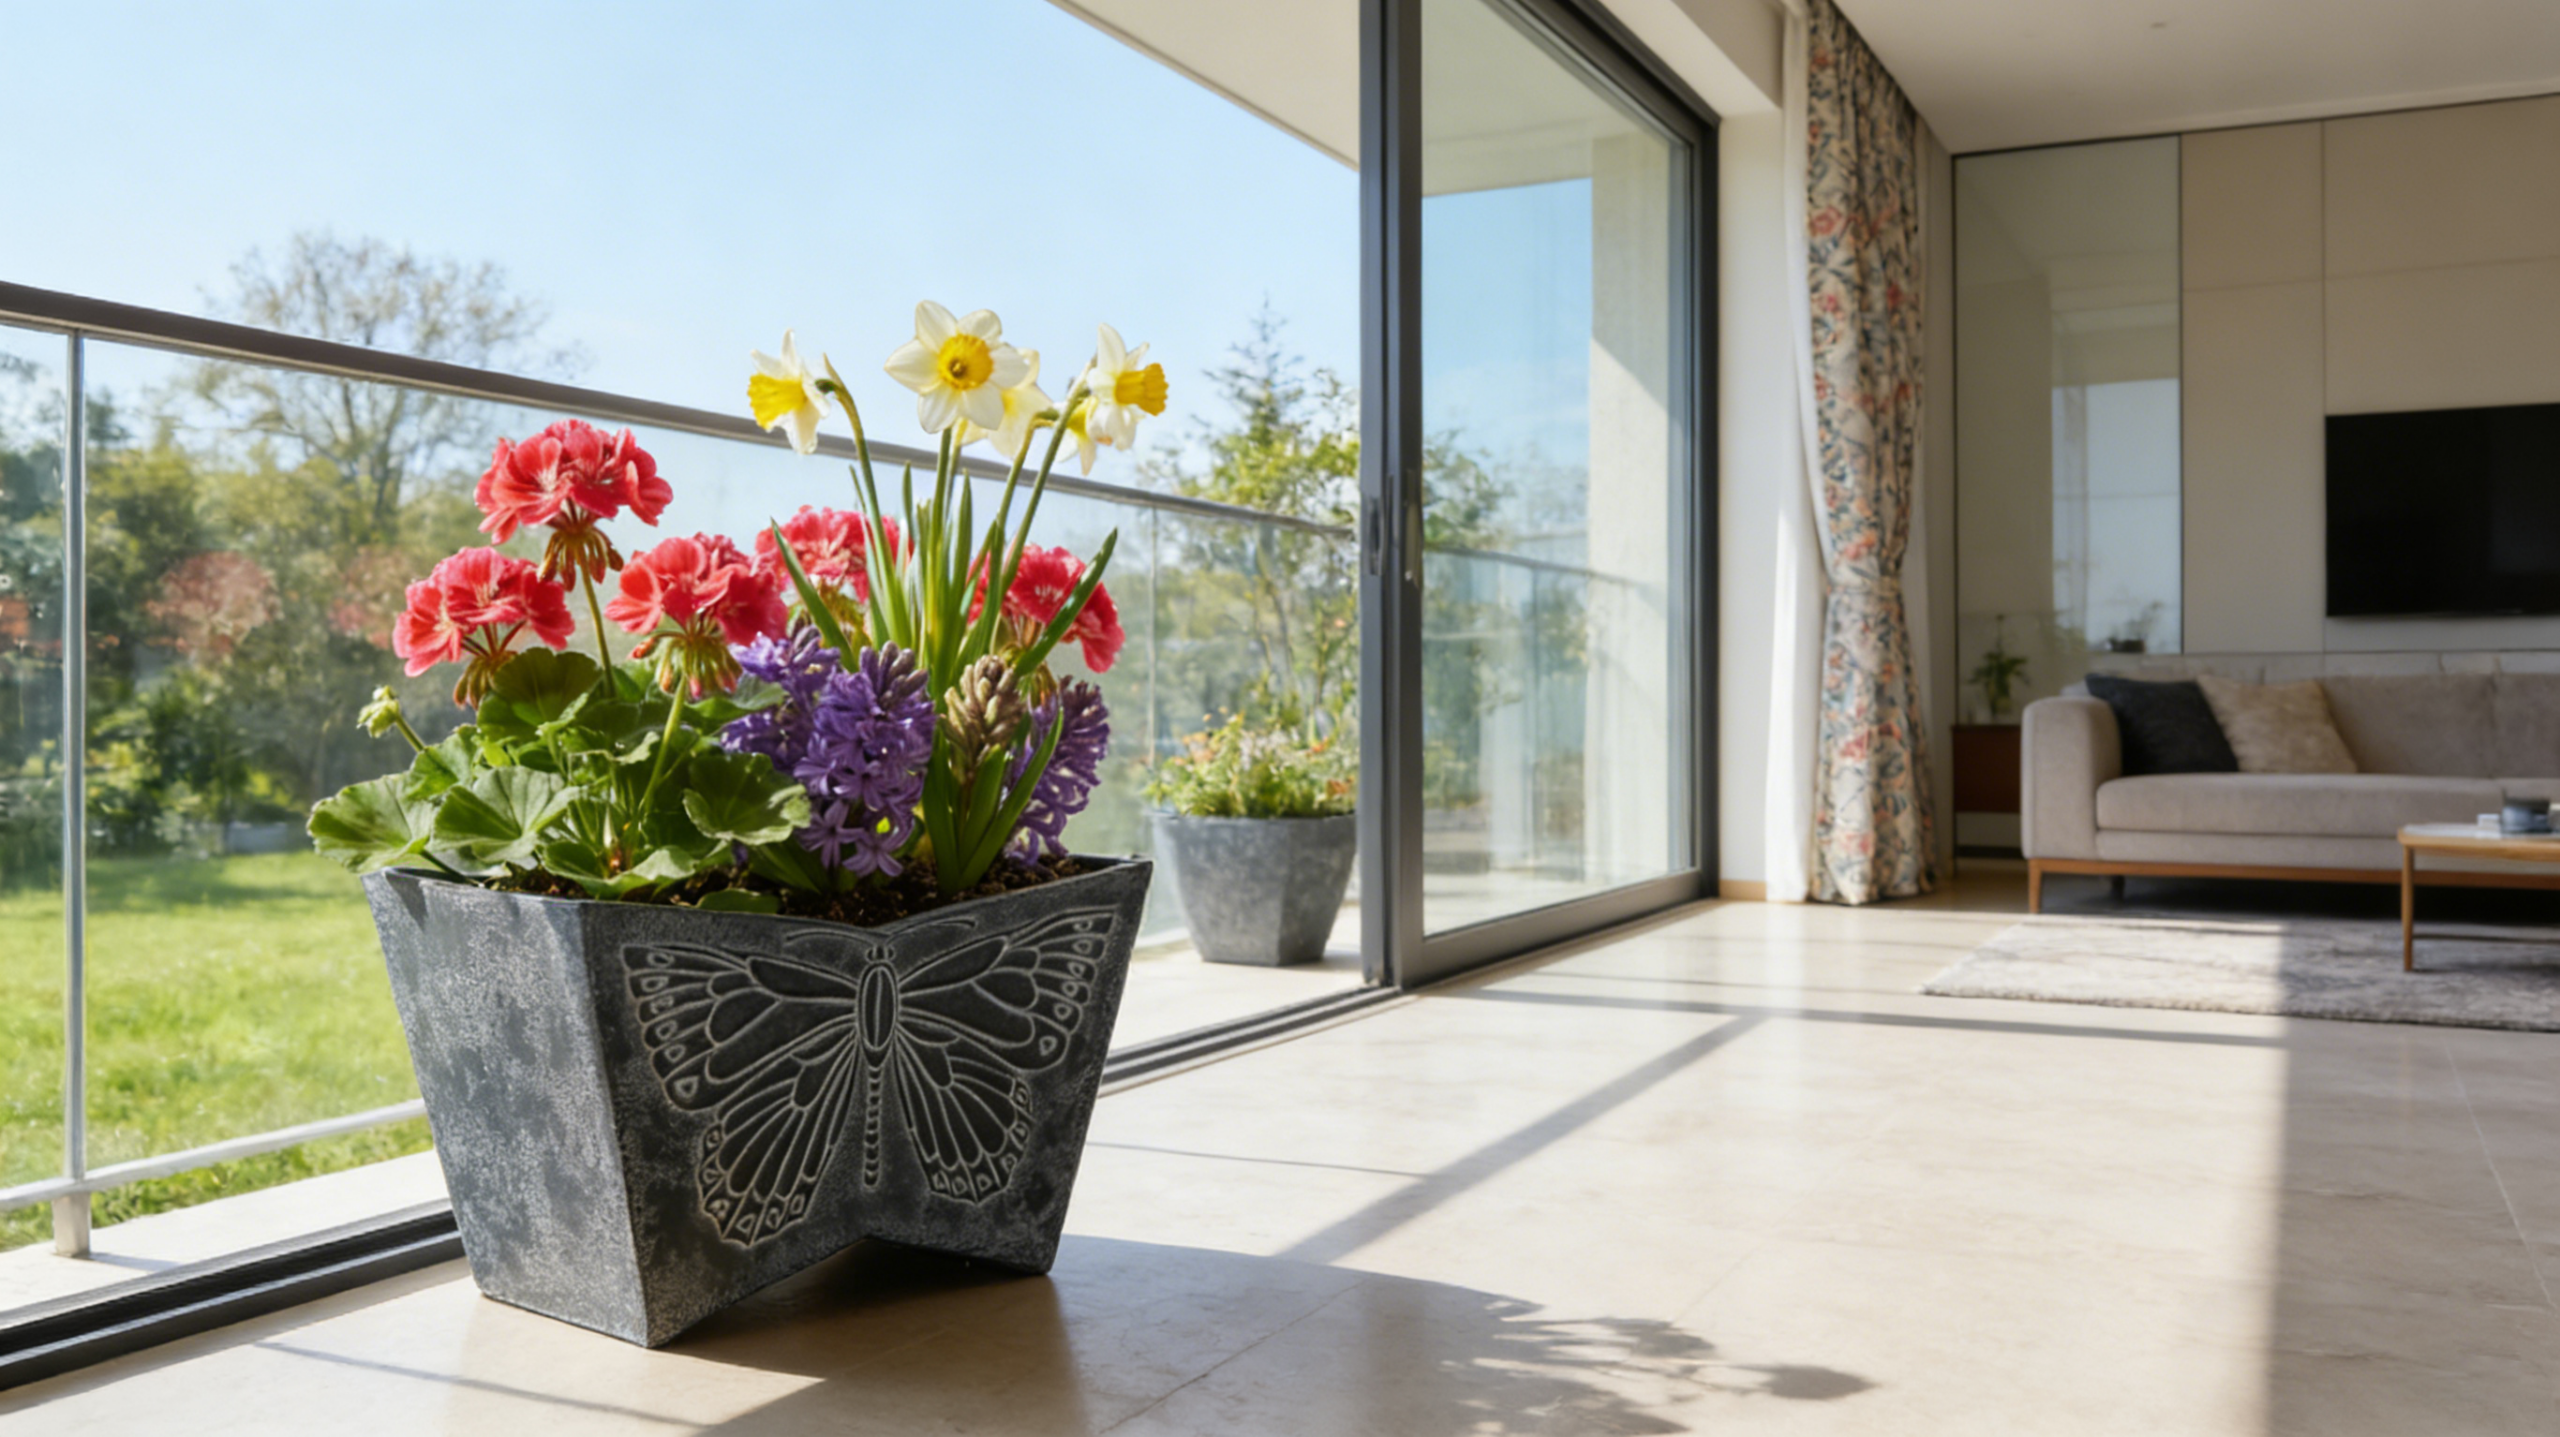
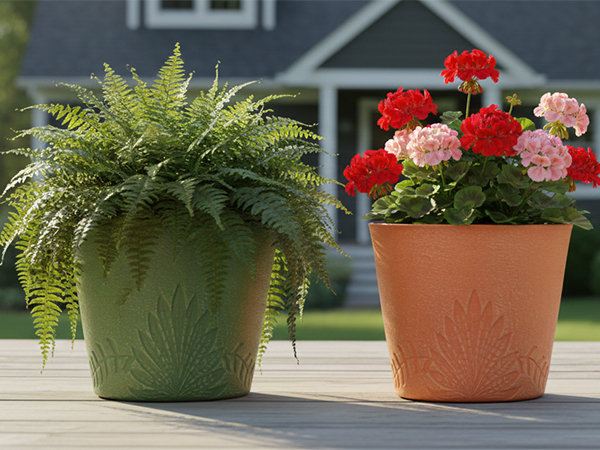
If I Want to DIY a Flower Pot, What Are Some Simple, Easy-to-Do, and Fun Methods?
Want to add a personal touch to your plant display or need a unique gift idea? DIY flower pots are a fantastic way to get creative and craft something beautiful and functional. The best part is, you don’t need to be a seasoned artist to create stunning results. Here are some simple, easy-to-do, and fun methods for DIYing your own flower pots:
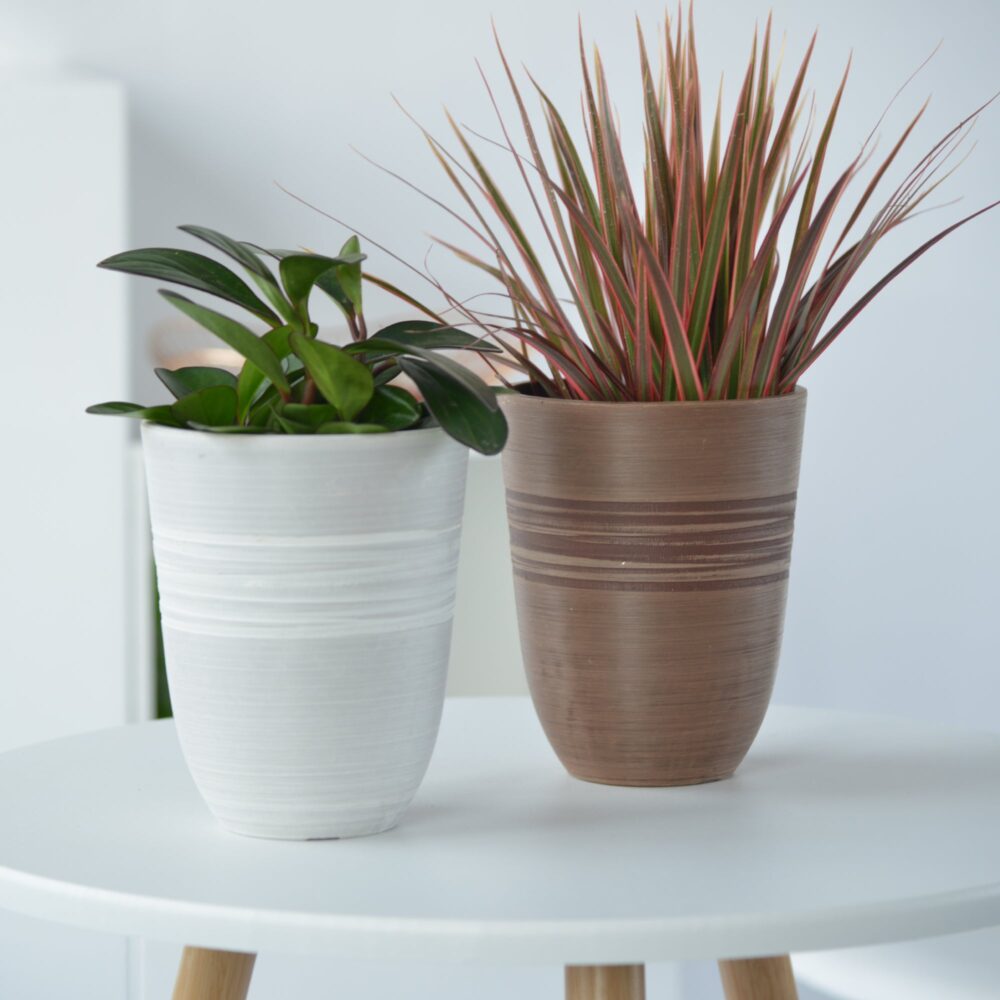
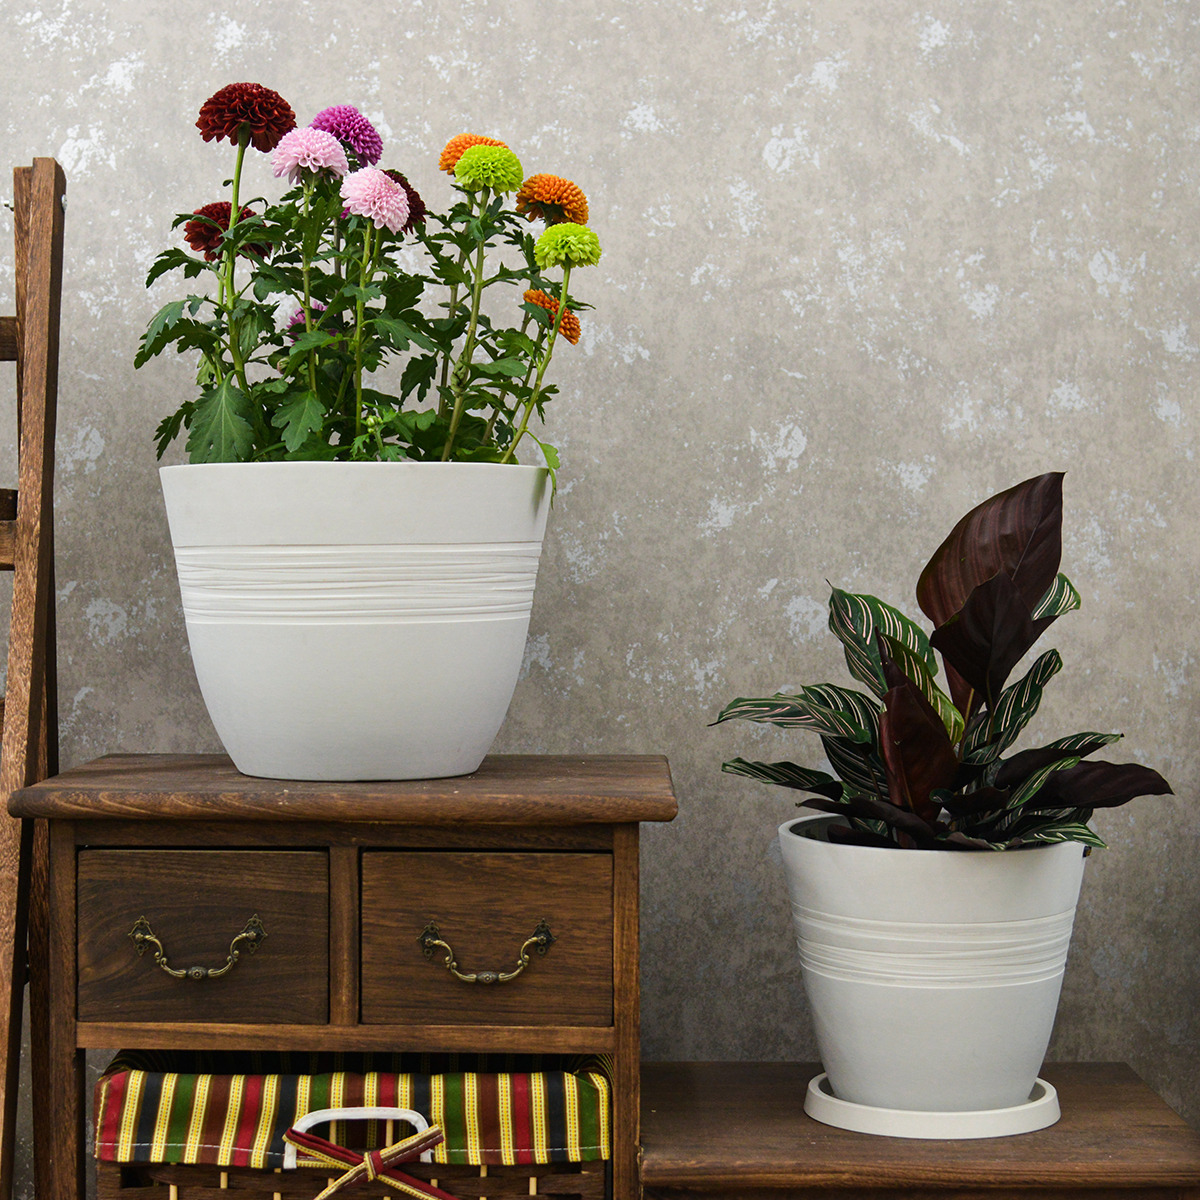
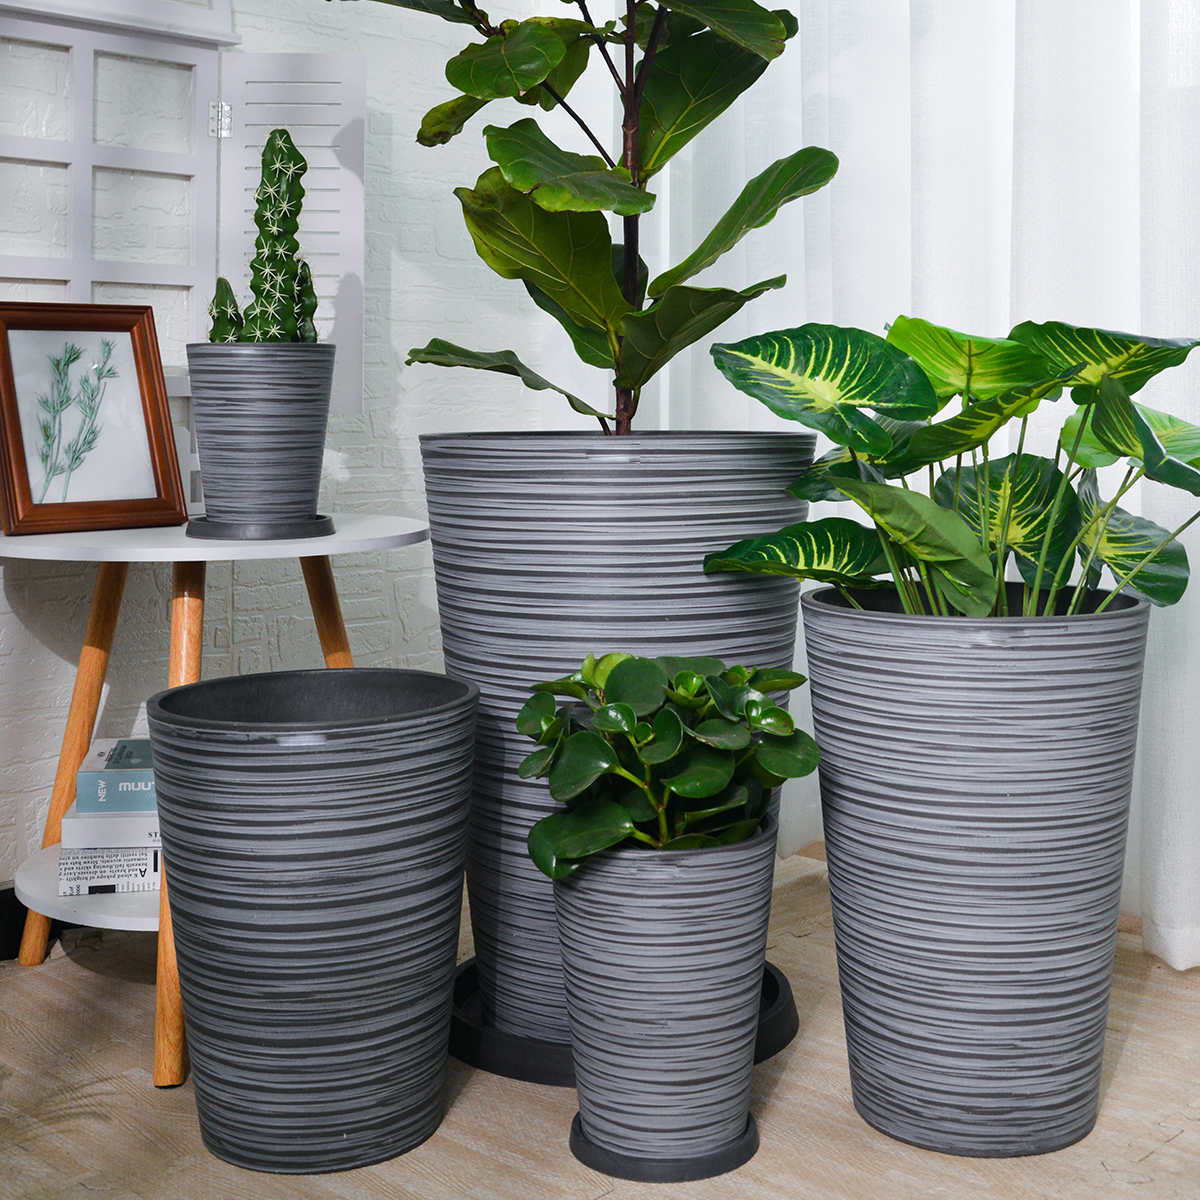
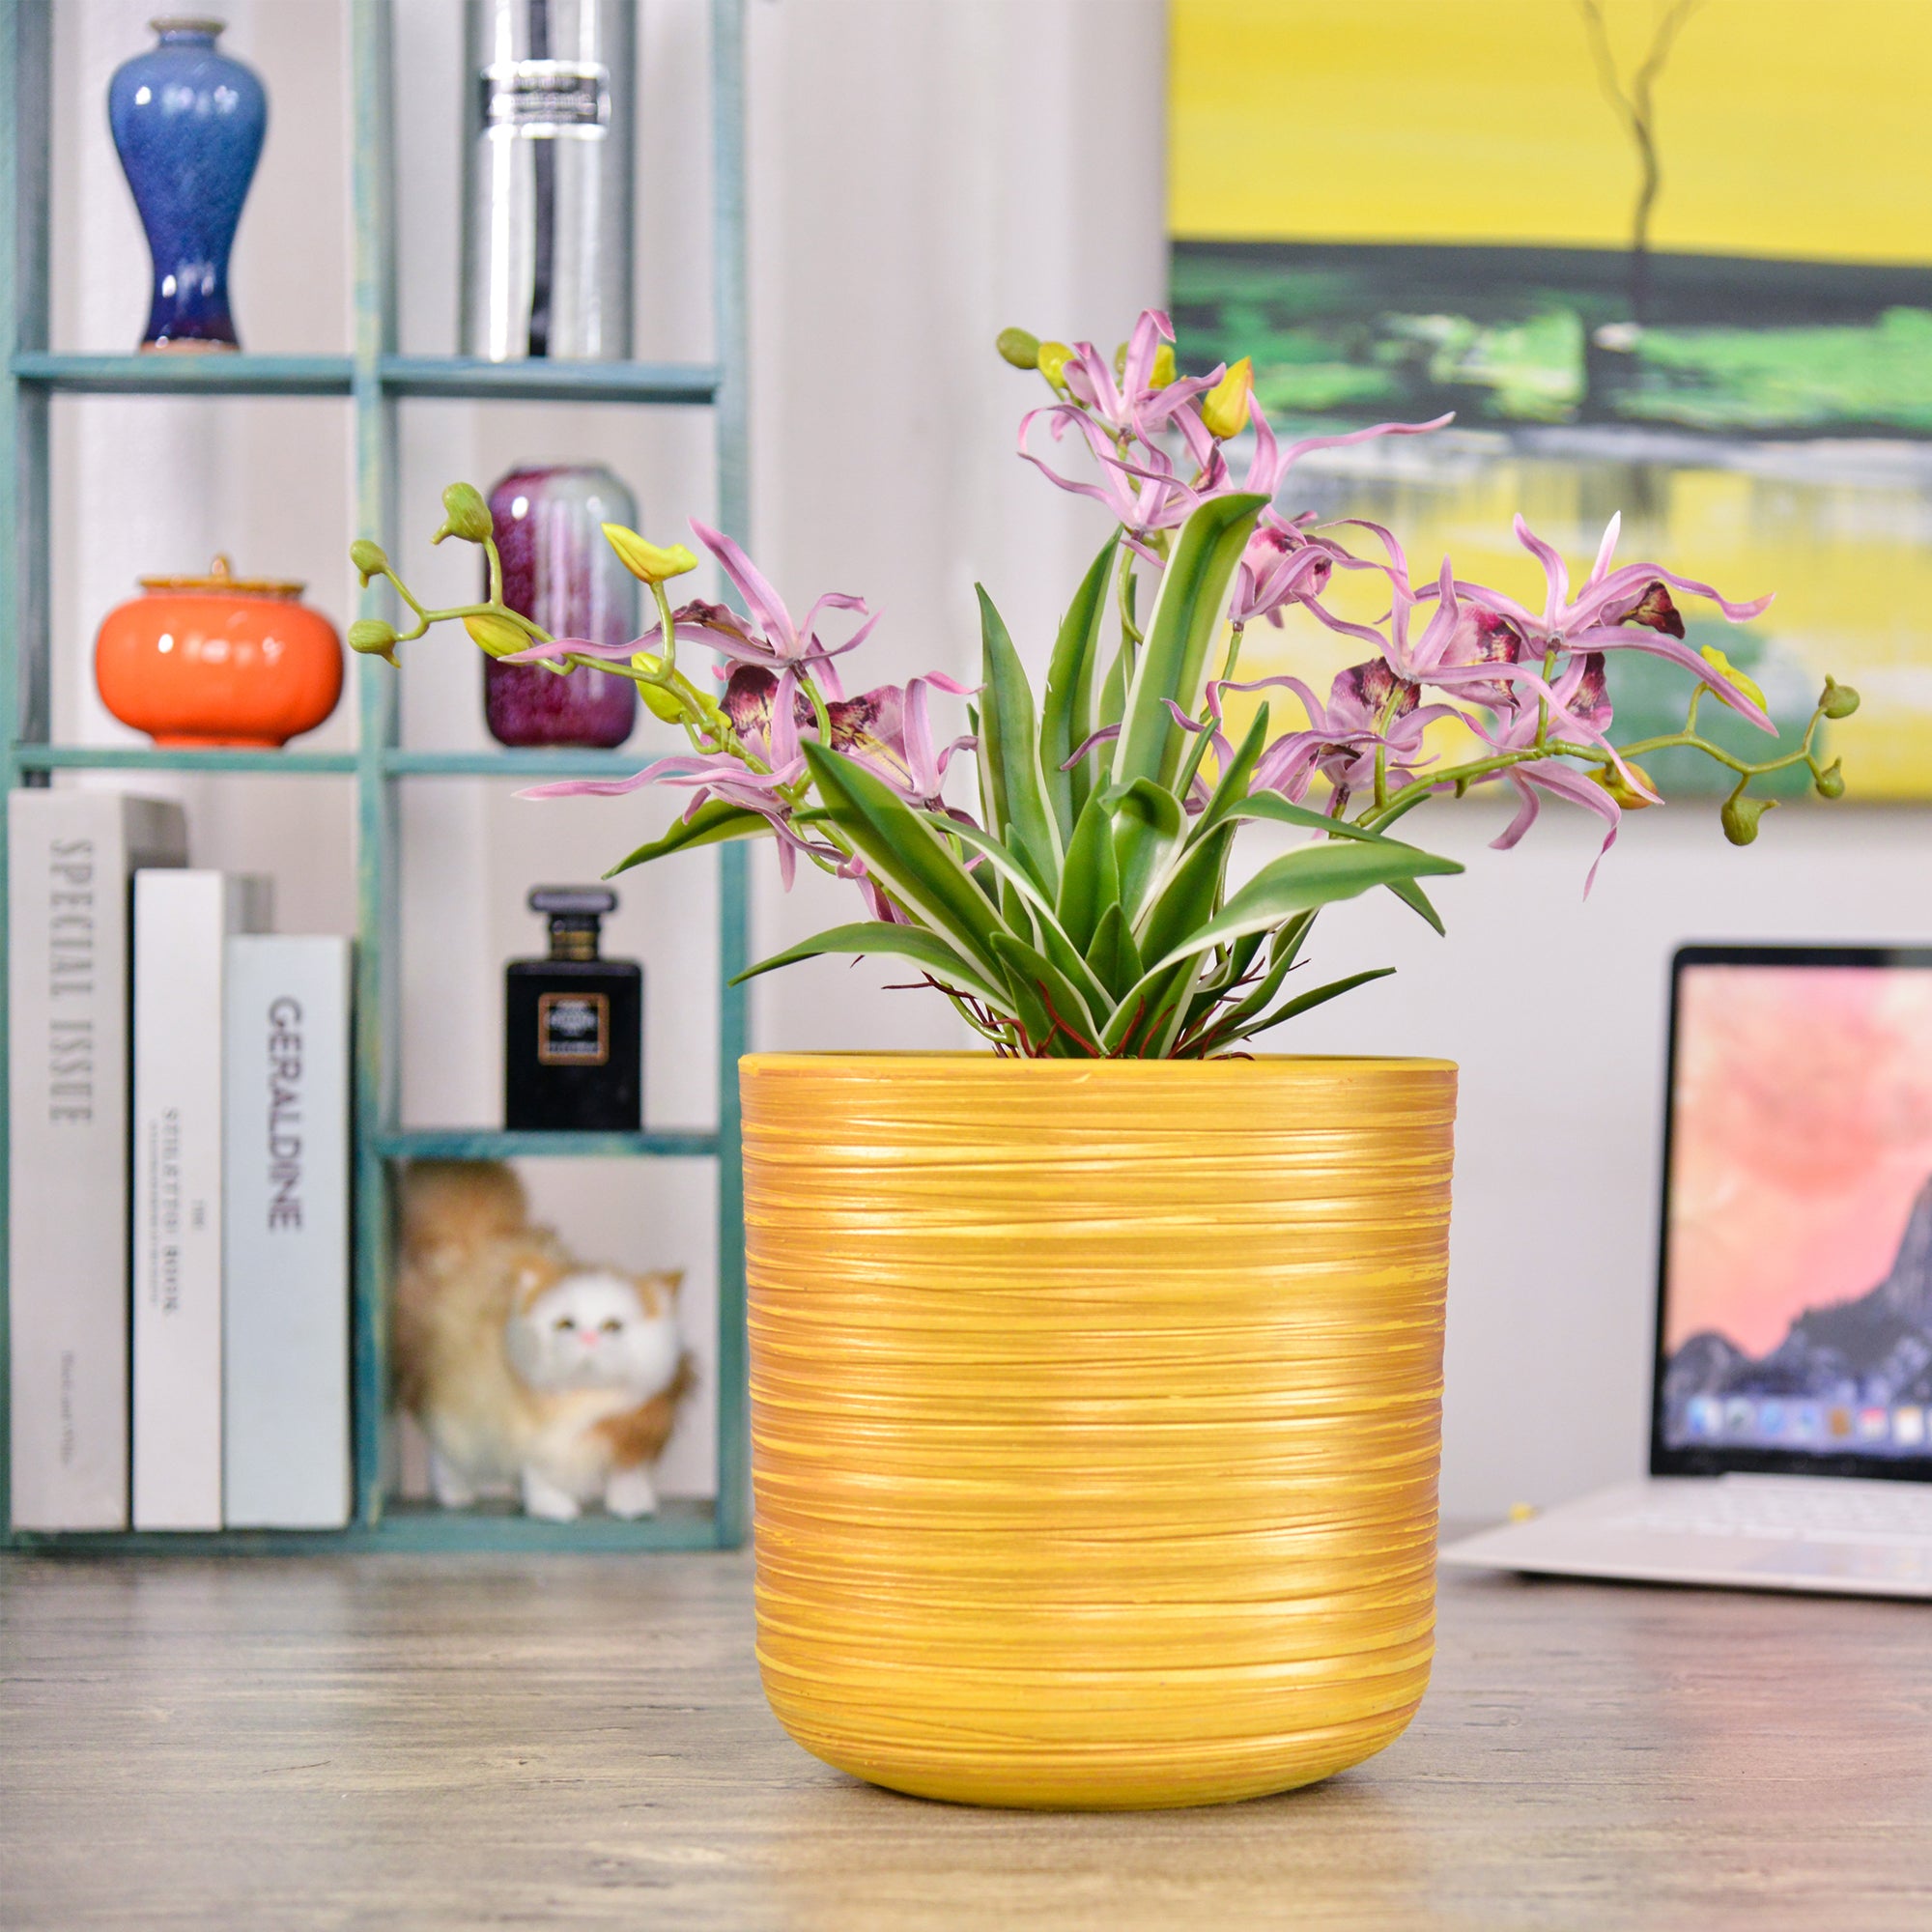
1. Painted Flower Pots: A Splash of Color
This is perhaps the easiest and most versatile method. All you need are some plain terracotta or ceramic pots and your favorite paints!
- Materials: Plain terracotta or ceramic flower pots, acrylic paints (various colors), paintbrushes (different sizes), sealant (optional, for outdoor pots).
- How-To:
- Clean your pots thoroughly and let them dry.
- Apply a base coat of paint if desired. Light colors work well as a base for brighter designs.
- Once the base coat is dry, get creative with your designs! You can paint stripes, polka dots, geometric patterns, floral motifs, or even abstract art.
- Let the paint dry completely.
- For outdoor pots, apply a coat of sealant to protect the paint from the elements.
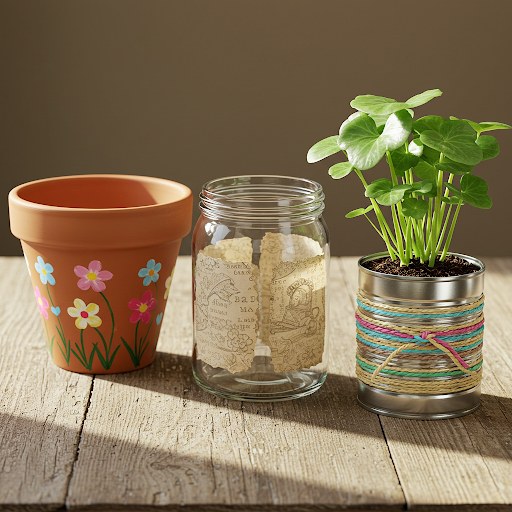
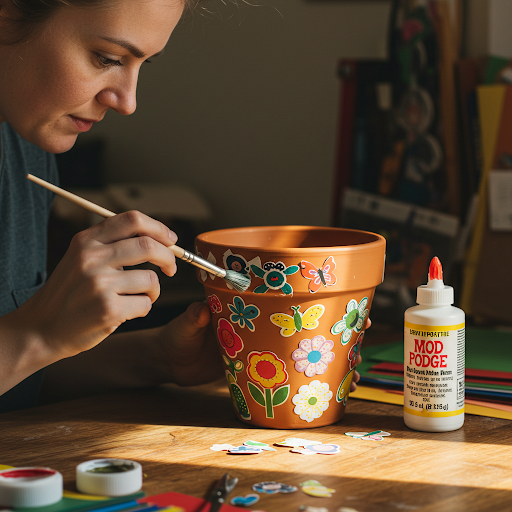
2. Decoupage Flower Pots: Paper Magic
Decoupage is the art of decorating objects by gluing colored paper cutouts onto them, then coating with sealant.
- Materials: Plain flower pots (any material works), decorative paper (scrapbook paper, tissue paper, wrapping paper, even old book pages), Mod Podge or other decoupage glue, paintbrushes, scissors.
- How-To:
- Clean your pots and let them dry.
- Cut out your desired shapes or images from the decorative paper.
- Apply a thin layer of Mod Podge to a section of the pot.
- Carefully place your paper cutout onto the glued area and smooth out any wrinkles or bubbles.
- Repeat steps 3 and 4 until the pot is decorated as desired.
- Let the glue dry completely.
- Apply several coats of Mod Podge over the entire pot, allowing each coat to dry before applying the next. This acts as a sealant.
3. Mosaic Flower Pots: Adding Texture and Sparkle
Create a stunning textured look by adhering small pieces of tile, glass, or pebbles to your flower pot.
- Materials: Plain flower pots, mosaic tiles, broken china pieces, glass gems, or pebbles, strong adhesive (like tile adhesive or outdoor-rated glue), grout (optional, for a more finished look), grout sponge (optional).
- How-To:
- Clean your pots and let them dry.
- Arrange your mosaic pieces on the pot to plan your design.
- Apply a small amount of adhesive to the back of each piece and press it onto the pot. Leave small gaps between the pieces if you plan to use grout.
- Let the adhesive dry completely (this may take several hours or overnight).
- (Optional) If using grout, apply grout to the gaps between the mosaic pieces using a grout float or your fingers. Wipe away excess grout with a damp grout sponge.
- Let the grout dry according to the manufacturer’s instructions.
4. Upcycled Flower Pots: Giving New Life to Old Items
Get creative by transforming everyday items into unique flower pots.
- Materials: Old tin cans, glass jars, plastic containers, chipped mugs, even old boots! (Ensure they have drainage holes or you can add some). Paint, decorative paper, twine, fabric scraps, etc., for embellishment.
- How-To:
- Clean your chosen item thoroughly.
- If necessary, drill drainage holes in the bottom (for tin cans or plastic containers, be careful and use appropriate tools).
- Decorate your upcycled container as desired. This could involve painting it, wrapping it with fabric or twine, gluing on decorative elements, or using the decoupage method.
5. Twine-Wrapped Flower Pots: Rustic Charm
Add a touch of rustic elegance by wrapping your flower pots with twine or rope.
- Materials: Plain flower pots, jute twine or other sturdy rope, hot glue gun and glue sticks.
- How-To:
- Clean your pots and let them dry.
- Apply a small amount of hot glue to the bottom edge of the pot.
- Press the end of the twine onto the glue and begin wrapping the twine tightly around the pot.
- Continue wrapping, applying small dots of hot glue every few inches to secure the twine.
- When you reach the top, trim the twine and secure the end with hot glue.
These are just a few simple and fun ways to DIY your own flower pots. Don’t be afraid to experiment with different materials and techniques to create truly unique pieces that reflect your personal style. Happy crafting!
About the Author — Greenship Garden Team
Greenship Garden is a U.S.-based brand dedicated to modern planter design and home gardening inspiration.
Our editorial team combines years of experience in plant care, garden styling, and sustainable living to help plant lovers create their perfect green spaces.
Through this blog, we share practical gardening tips, planter styling guides, and insights on how to choose the right pots for every home.
🌿 Written and reviewed by the Greenship Garden Team.